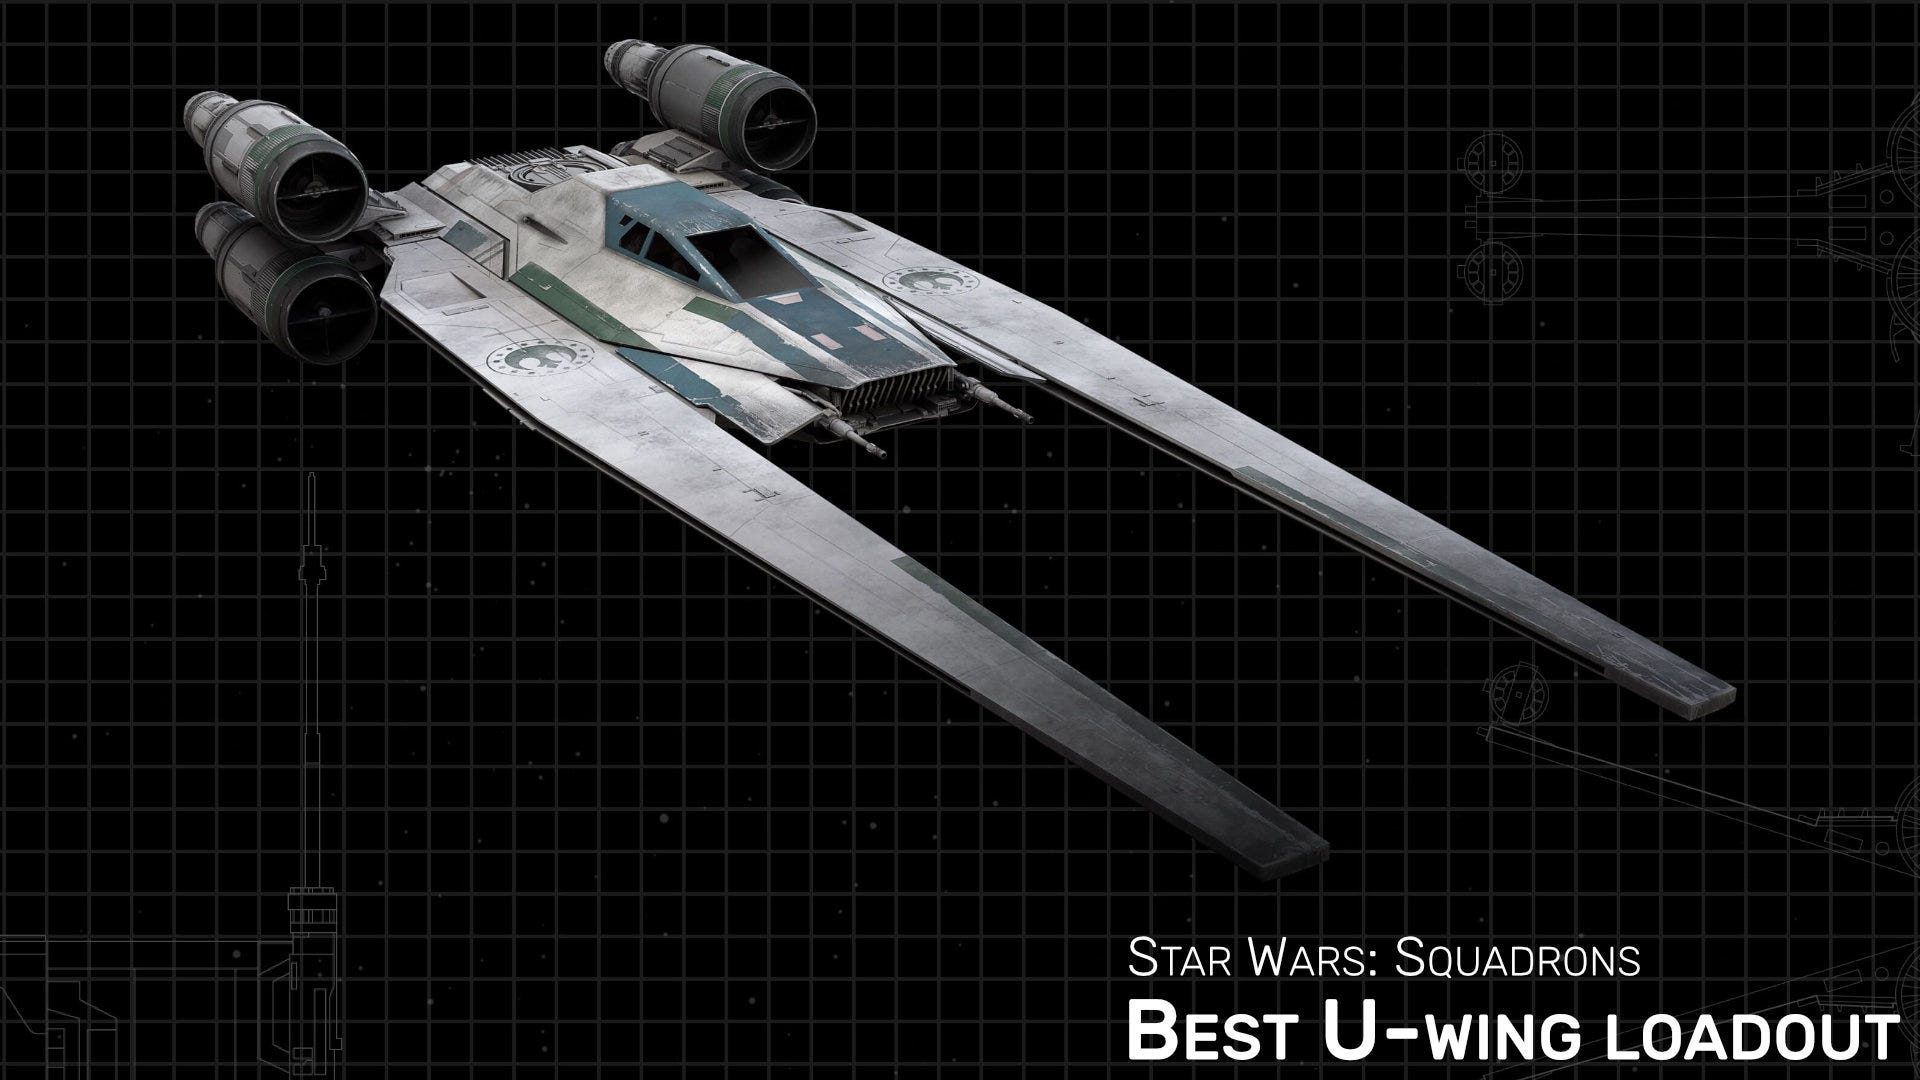
Best U-wing loadout in Star Wars: Squadrons
The ultimate Support loadout for Star Wars: Squadrons

Support-class ships like the U-wing in Star Wars: Squadrons probably have the biggest role to play in any victory. Most players avoid these ships because they're slow and weak and you won't get many kills with them, but for players who don't mind the life of a support character, you can absolutely carry your team to victory by following my best U-wing loadout guide below.
In this U-wing loadout guide:

Best U-wing loadout in Star Wars: Squadrons
The U-wing, much like its Empire counterpart, the TIE Reaper, does not focus at all on kills. Instead, you must focus on either disabling enemies, or protecting allies. My favourite U-wing loadout concentrates on the latter, because I find it gives our team the greatest chance of victory in any Dogfight or Fleet Battles match.
Here is the best U-wing loadout:
- Weapons: Gyrhil EM-8V Auto-Aim Cannon
- Aux #1: Arakyd Tactical Supply Droid
- Aux #2: Loronar Tactical Shield
- Countermeasures: ArMek H/M Seeker Warheads
- Hull: Incom Ferroceramic Hull
- Engines: Incom SLAM Engine
- Shields: Standard Incom Deflector Shield
Interestingly, my best U-wing loadout shares some commonalities with the base U-wing build - for example, the Incom Ferroceramic Hull and Standard Incom Deflector Shield. I've played around with every component in both areas, and I've come to the conclusion that the benefits really aren't worth the downsides. You absolutely don't want to burden yourself with slow-to-regenerate shields or low mobility. You could substitute the hull for a Deflector Hull for more shields over health, but then you'll be very vulnerable to Ion weaponry. So these two components can stay as they are.
Your auxiliaries are the focus with this build, and they will help you keep your entire team in the air. The Supply Droid is a fantastic fire-and-forget ability that not only saves damaged allies from death, but also restocks them - incredibly useful when targeting allied Bombers ready for capital ship attacks in Fleet Battles. Meanwhile, the Loronar Tactical Shield has an incredible range and can be placed over any ally with the tap of a button. It requires no lock, you can use it multiple times with ease, and it's a simple way to keep an ally in the fight even if you're too far away to heal them.
The Incom SLAM Engine is my favourite engine for the U-wing. I really value that passive boost charge, but there's also the fact that your active boost charge is significantly faster with this component equipped, allowing you to spend far more time managing the power of your shields and weapons.
Speaking of weapons - you really won't be doing much direct attacking with the U-wing, but when you are, I'd suggest the Auto-Aim Cannon. I usually shy away from these cannons due to their low damage, but most Empire ships have no shields, which means that unlike Republic ships, your enemies can't just regenerate the small amount of damage you dealt to them after your initial barrage. I've actually finished off a fair few enemies in each match with these Auto-Aim Cannons, and I can only imagine the frustration of my opponents as they find themselves completely unable to escape my consistent blaster fire.
View the full stats and details of this loadout over on the Squadrons Toolkit Loadout Builder, where I've recreated the build exactly.

How to use our U-wing loadout
As a U-wing, your priority should be taking care of your squadmates. Use the targeting wheel mentioned in our Star Wars: Squadrons tips to target only allies, then look for opportunities to third-party a 1v1 dogfight and turn the tides in your team's favour. Shield and heal your ally if needed, and then turn your Auto-Aim Cannons upon the enemy to harass them until they are forced to break off from your ally's tail.
You can be pretty free with the firing of your auxiliaries, as you get multiple charges of each, and a fair range with both (particularly the Shield). Whenever you're not in combat, you should overcharge your shields ready for the next round. Try not to get caught without any allies nearby, because you'll probably die. If you do start taking damage, the SLAM Engine should mean you'll always have enough boost charge to pull off some Micro Drifts and escape. If they lock on and fire homing missiles, that's what the Seeker Warheads are for.
Overall, you shouldn't waste too much time trying to earn kills with your Auto-Aim Cannon. Instead, look for any opportunity to save the life of an ally or prepare them for a bombing run against a capital ship.
That's everything you need to know in order to become a top-tier U-wing pilot in Star Wars: Squadrons. But if you've an itch to try out a different ship in either fleet, be sure to consult our Best Star Wars: Squadrons loadouts page!