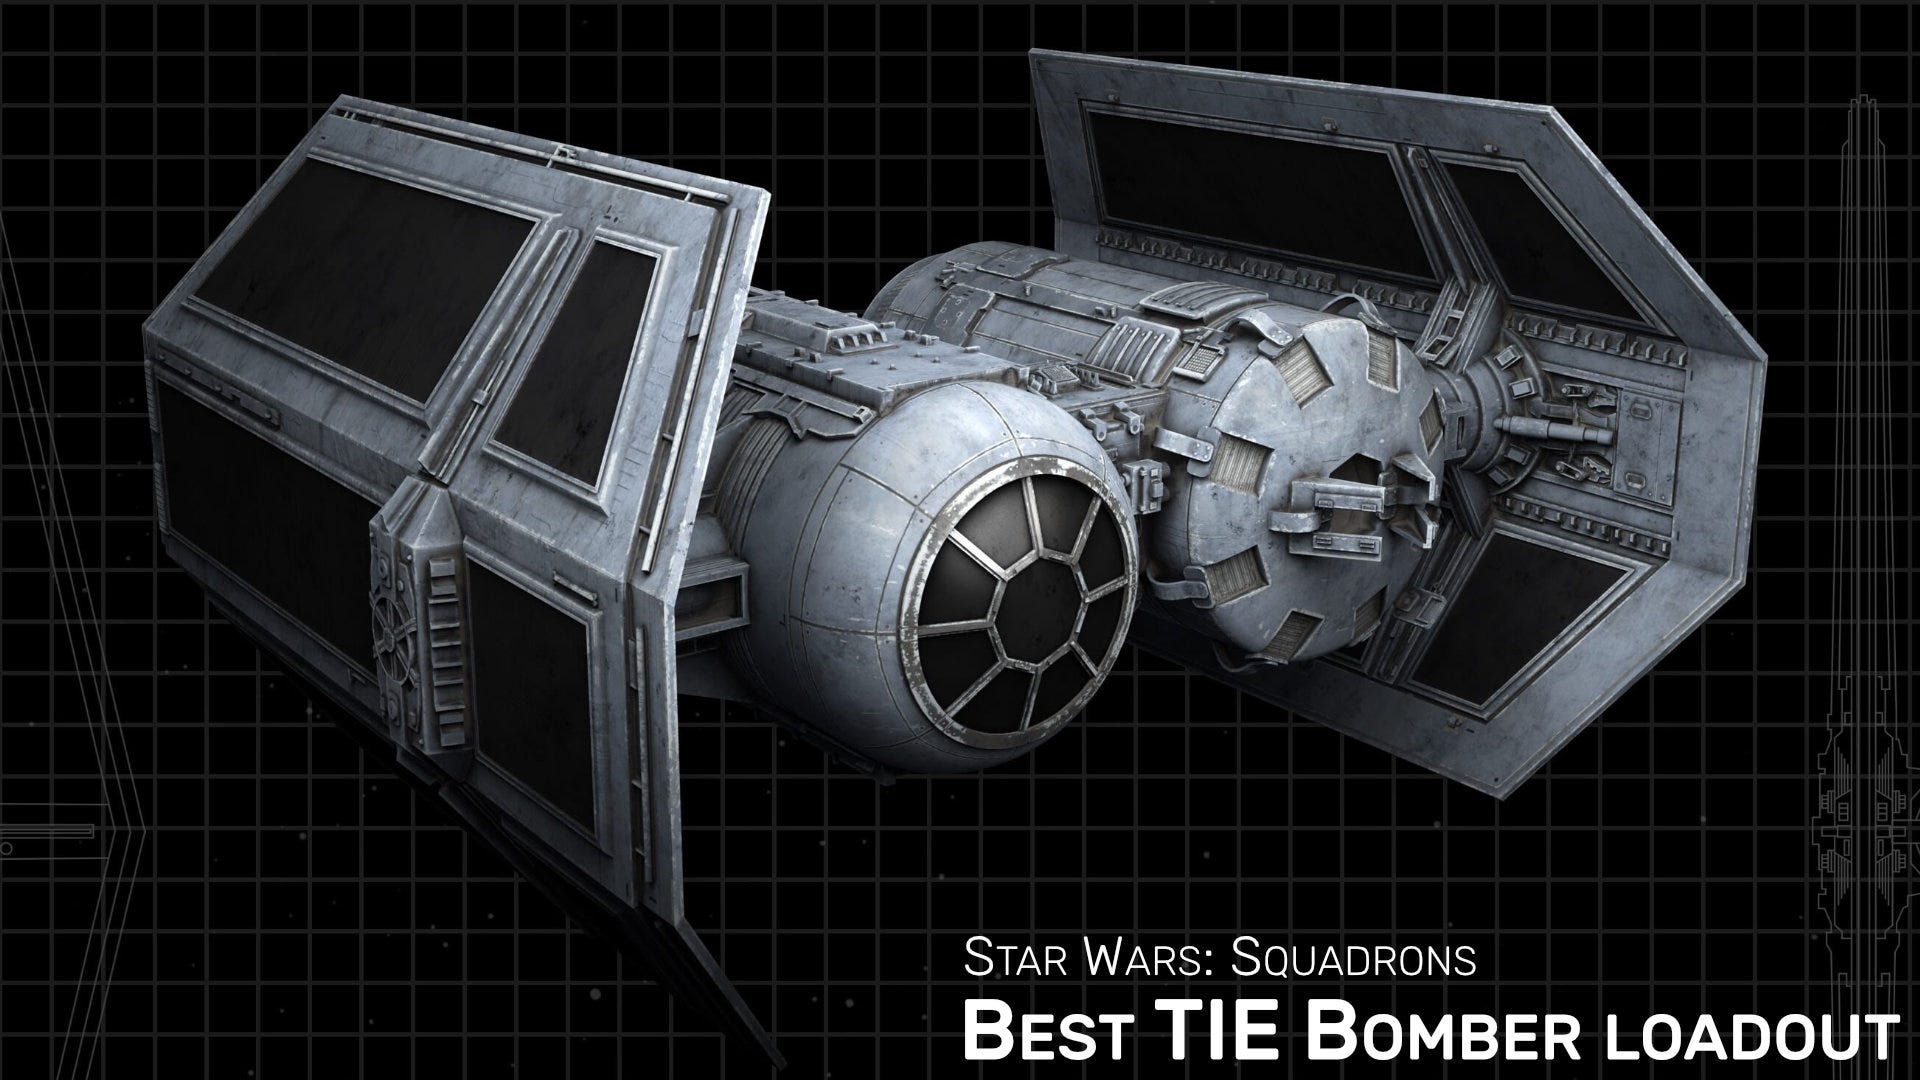
The Bomber class is possibly the strongest ship type in Star Wars: Squadrons upon release, and the Empire's heavy TIE Bomber is no exception with its high health pool, extreme damage potential, and power conversion capabilities.
Below you'll find not only the best TIE Bomber loadout I've come across, but quite possibly the strongest loadout in the entire game as of the time of writing. So what are we waiting for? Let's dive right in!
I've been consistently top of the scoreboard in both Dogfight and Fleet Battles since creating this Bomber build for Squadrons. So let's not waste time: below I'll reveal my pick for the best TIE Bomber loadout that exists right now, before diving into an explanation of why it works so well.
Here is the best TIE Bomber loadout:
Weapons: Sienar Rotary Cannon
Aux #1: Sienar Seeker Mine
Aux #2: Sienar RD-77 Assault Shield
Countermeasures: Sienar XX-5 Seeker Warheads
Hull: Sienar Dampener Hull
Engines: Twin Ion Engine
Let's work backwards with this build. The Standard Twin Ion Engines are the base engines for the TIE Bomber, and they work great with this loadout. You'll need your ship to have a combination of speed, acceleration, and manoeuvrability for this to work, and the base engines are your best choice for this.
Next is the Sienar Dampener Hull, which I use on almost all my ships. Enemies find it twice as hard to lock onto you with this hull, and as long as you know How to Drift in Star Wars: Squadrons and lose a tail, the Republic are going to have an extremely hard time pinning you down.
And if they do manage to lock on, that's what the Seeker Warheads are for. These are the most forgiving countermeasures available, capable of countering a missile even several hundred meters away, and fool-proof even while turning - which you'll be doing a lot with this loadout.
The Seeker Mine is your defence against A-wings and other ships that you can't quite shake off. These mines are no joke: if an enemy gets too close to one, they'll have a hard time getting away.
But what this TIE Bomber loadout is really built to do is engage head-on with the enemy. Flick on your Assault Shield (which reduces non-collision damage taken from the front by 90%), convert power to weapons, and lay waste to the enemy with the extreme DPS of your Rotary Cannon. This is one of the highest-damage weapons in the entire game, and even Y-wings and U-wings melt under its gaze.
I've recreated this Bomber build using the Squadrons Toolkit Loadout Builder so you can view the loadout in more detail. But now let's talk a bit about how to use this Bomber loadout to the best of its abilities.
How to use our TIE Bomber loadout
As mentioned, your greatest strength with this Bomber loadout is the head-on attack. If you see any enemy ship (that isn't a similarly equipped Y-wing) engaging you head-on, your sole purpose is to punish them. It's a simple one-two punch:
Use your emergency power converter to overcharge your weapon;
Activate your Assault Shield to reduce oncoming damage by 90%;
Melt the enemy with your overcharged Rotary Cannon;
Drop a Seeker Mine behind you in case they get past you;
Swerve to avoid a collision, because Republic ships tend to win collisions thanks to their overcharged shields.
Yeah, I agree, that was a few more steps than a one-two punch, but you get the idea.
Head-on assaults are not the only situations where this Bomber loadout excels. Once you're well-versed in quick turns and navigating spaces, you'll be able to treat this Bomber like a regular old super-powered fighter. Ships genuinely do melt under the gaze of a Rotary Cannon as long as you can track them. And your Seeker Mine should be dropped whenever you feel like you've got a short tail.
The only real downside to this ship is that you cannot heal yourself very easily; so if possible, get a teammate to fly with you as a Reaper - and as an added bonus, have them equip their ship with Ion Cannons for a truly unstoppable duo.
This is one hell of a loadout, people. If so far you've stuck to just Interceptors, consider this your call to switch ships and try out what is quite possibly the best ship in Squadrons right now. But if you're after builds for a different ship type, be sure to check out our main Best Star Wars: Squadrons loadouts page.

 Watch on YouTube