Valorant Breach guide - 24 tips and tricks for all Breach mains
OFF YOUR FEET
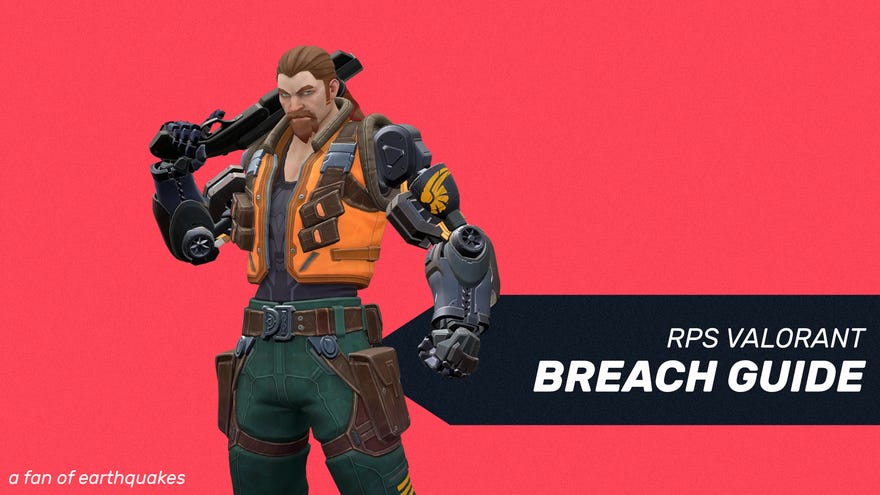
Breach is one of the least-picked but most powerful Valorant agents out there. Why? Because he has a very high skill ceiling, and it takes a lot of time and practice to become truly effective with this powerhouse. But our Valorant Breach guide will shorten the process by introducing you to numerous practical top tips on improving your Breach game.
Valorant Breach guide
- Breach abilities overview
- Breach tips - Fault Line
- Breach tips - Aftershock
- Breach tips - Flashpoint
- Breach ultimate tips - Rolling Thunder
- Some additional Breach tips
Breach abilities overview
Before we begin, let's quickly iterate through each of Breach's abilities, so we know exactly what's what.
Now, let's talk a bit about each of these abilities in turn, so we can discover why Breach is one of the strongest agents at the highest levels of Valorant.
Breach tips - Fault Line
- Use the minimap! You can see the exact range of your Fault Line on the minimap much more easily than you can in-world.
- You don't need to charge your Fault Line to maximum. It makes no difference except for the distance, and often you can save half a second (a long time in Valorant) by keeping track of how long you actually need it to be, and detonating immediately once the ability reaches that length.
- You are impervious to the effect of your own Fault Line, but your allies are not - so be careful where and when you use it.
- Fault Line will travel down ledges but not up them. Taking Haven A Site as an example, you can hit A Long from A Heaven, but you can't reach up to A Heaven from the ground.
- Fault Line takes the same amount of time to detonate (around 1.5 seconds), regardless of how long you charged it for.
- Breach's movement speed is decreased quite drastically while you're charging up Fault Line, so you should only start charging it up when you are just about to use it - not ages in advance.
- Fault Line goes straight through walls. The idea, as with most of Breach's toolkit, is that you don't need to peek or otherwise expose yourself in order to hit enemies with your abilities.
- If you hit with Fault Line, great. But often your enemies will be able to move out of the way before that 1.5 second charge-up is finished. But that's fine, because Fault Line is more about flushing opponents out from around corners than anything else. This should be your primary aim when using this ability.
Breach tips - Aftershock
- First thing to know about Aftershock - it's really goddamn slow. It takes over 2 seconds to detonate, which is more than enough time for enemies to leave the blast radius before they get splatted. But, as with Fault Line, the effect is more to force enemies out from behind corners. It's just a bonus if you hit and kill someone with it.
- You don't need to be next to the wall you want to shoot through in order to fire off an Aftershock. The distance the initial projectile can travel is surprisingly long - but of course, the further you are from the effect, the harder it is to capitalise on the enemy being forced out of position.
- Aftershock has enough juice to one-shot a fully armored enemy at point-blank range. By comparison, at its maximum range it will deal 60 damage. Allies (and you) are dealt less damage if caught by the blast, but it's still a significant amount, so... y'know... try not to do that.
- Aftershock actually hits in a surprisingly wide cylinder around the central blast, and there's no damage dropoff based on your side-to-side distance from the blast. So if you're next to the wall that the Aftershock is blasting through, and you're standing to the side so that the attack just grazes you, you'll still be hit for full damage.
- Aftershock can pass through extremely thick layers, such as the centre of B Site on Haven. But if there's any kind of gap (i.e. if it's not a single unbroken layer), then the effect won't pass through to the very end.
- Not only is Aftershock great for flushing enemies out of hiding, but it's also a surprisingly effective deterrent. If you need to buy a little time and stop enemies from pushing through a certain chokepoint, fire an Aftershock across it. Very few players will have the balls to push through the Aftershock before it's finished.
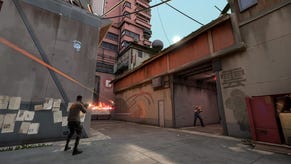
- Anyone in the firing line of a Breach Aftershock will see a large red warning circle around the centre of their screen. So if you see this red circle (pictured below), you'll know to move.
Breach tips - Flashpoint
- Flashpoint has the same projectile range as Aftershock, so you can use it quite far away from the wall you want to flash. But - as with Aftershock - the further away you are, the harder it is to capitalise on the results.
- It takes very little time (less than a second) for the actual blind effect of Flashpoint to trigger, which makes it pretty difficult for enemies to turn away in time to mitigate the effect. This makes Flashpoint an extremely strong quickfire initiation ability.
- Tanking the flash means you'll be fully blind (i.e. completely unable to see anything on-screen) for two full seconds, making Flashpoint an even more powerful blind than Phoenix's Curveball - and certainly stronger than Omen's Paranoia.
Breach ultimate tips - Rolling Thunder
- Use the minimap! You can see exactly where Rolling Thunder will hit on the minimap, so use it. Use it. USE IT.
- Rolling Thunder is composed of eight separate chunks which activate one at a time, radiating outwards from your position. Each chunk is wider than the last, turning the whole area of effect into a cone shape.
- Because Breach's ultimate has a conical area of effect, it's better to be a short distance away from the desired blast area, rather than right next to it. If you're further away, you can make sure the entire area is covered by the final (widest) chunks. This will enable you to lock down entire sites with your ultimate.
- Enemies that are hit by Rolling Thunder are ruined for several seconds. Not only are they knocked up and backwards, but they are also stunned, and their turning is drastically slowed. Essentially, an enemy hit by Rolling Thunder is a free kill. You can quite comfortably 1v5 if you hit an entire team out in the open.
- Breach's ultimate is the ultimate (pun intended) initiating tool in Valorant. Not only for locking down an area, but also for post-spike retake pushes - or, indeed, for defending a retake. All you need to do is coordinate with your team, wait for the bomb defuse sound, then ult the site. Good luck to the enemy team that has to deal with that.
Some additional Breach tips
- The one major downside to Breach is that he requires a high level of communication and coordination with your teammates. Many team plays have to be built around Breach's abilities in order to be most effective. Which makes him rather difficult to play to his greatest potential when solo-queuing. Not impossible, though!
With that, we'll conclude this Valorant Breach guide. But we've got plenty more to offer for any Valorant player looking to increase their skill and knowledge! Click any of the links below to head over to a different Valorant guide.
| Valorant basics (start here if you're new!) | ||||
| Valorant weapons | Valorant crosshair | |||
| Valorant characters | ||||
| Valorant characters | Valorant team comps | |||
| Breach | Brimstone | Cypher | Jett | Omen |
| Phoenix | Raze | Sage | Sova | Viper |
| Reyna | ||||
| Valorant maps & callouts | ||||
| Valorant Ascent map | Valorant Bind map | |||
| Valorant Haven map | Valorant Split map | |||
| Miscellanious Valorant guides | ||||
| Valorant Store & Valorant Points | Valorant ranks | |||
| Valorant error codes | How to report in Valorant |




.jpg?width=291&height=164&fit=crop&quality=80&format=jpg&auto=webp)


