Ghost Recon Breakpoint Titan Beta raid boss guide
I'm afraid I can't do that, Dave.

Ghost Recon Breakpoint's second raid boss is a tricky one to handle without communicating with your teammates. In fact, you'll need a headset to even stand a chance, since you'll either be relaying instructions to your teammates or confirming when you've pressed your node button. Failure to work as a team will result in you suffocating due to poison gas, so it's imperative that you have a plan going in. Below you'll find our suggestions for that plan, plus a handy map to put on your second screen.

Ghost Recon Breakpoint Titan Beta raid boss guide
Our Ghost Recon Breakpoint Titan Beta raid boss guide has tips and tricks for defeating the second raid boss of Project Titan - the Super Computer. It also includes a map of the area so that you can plan with your team to take out the boss.
Titan Beta raid boss - map phase
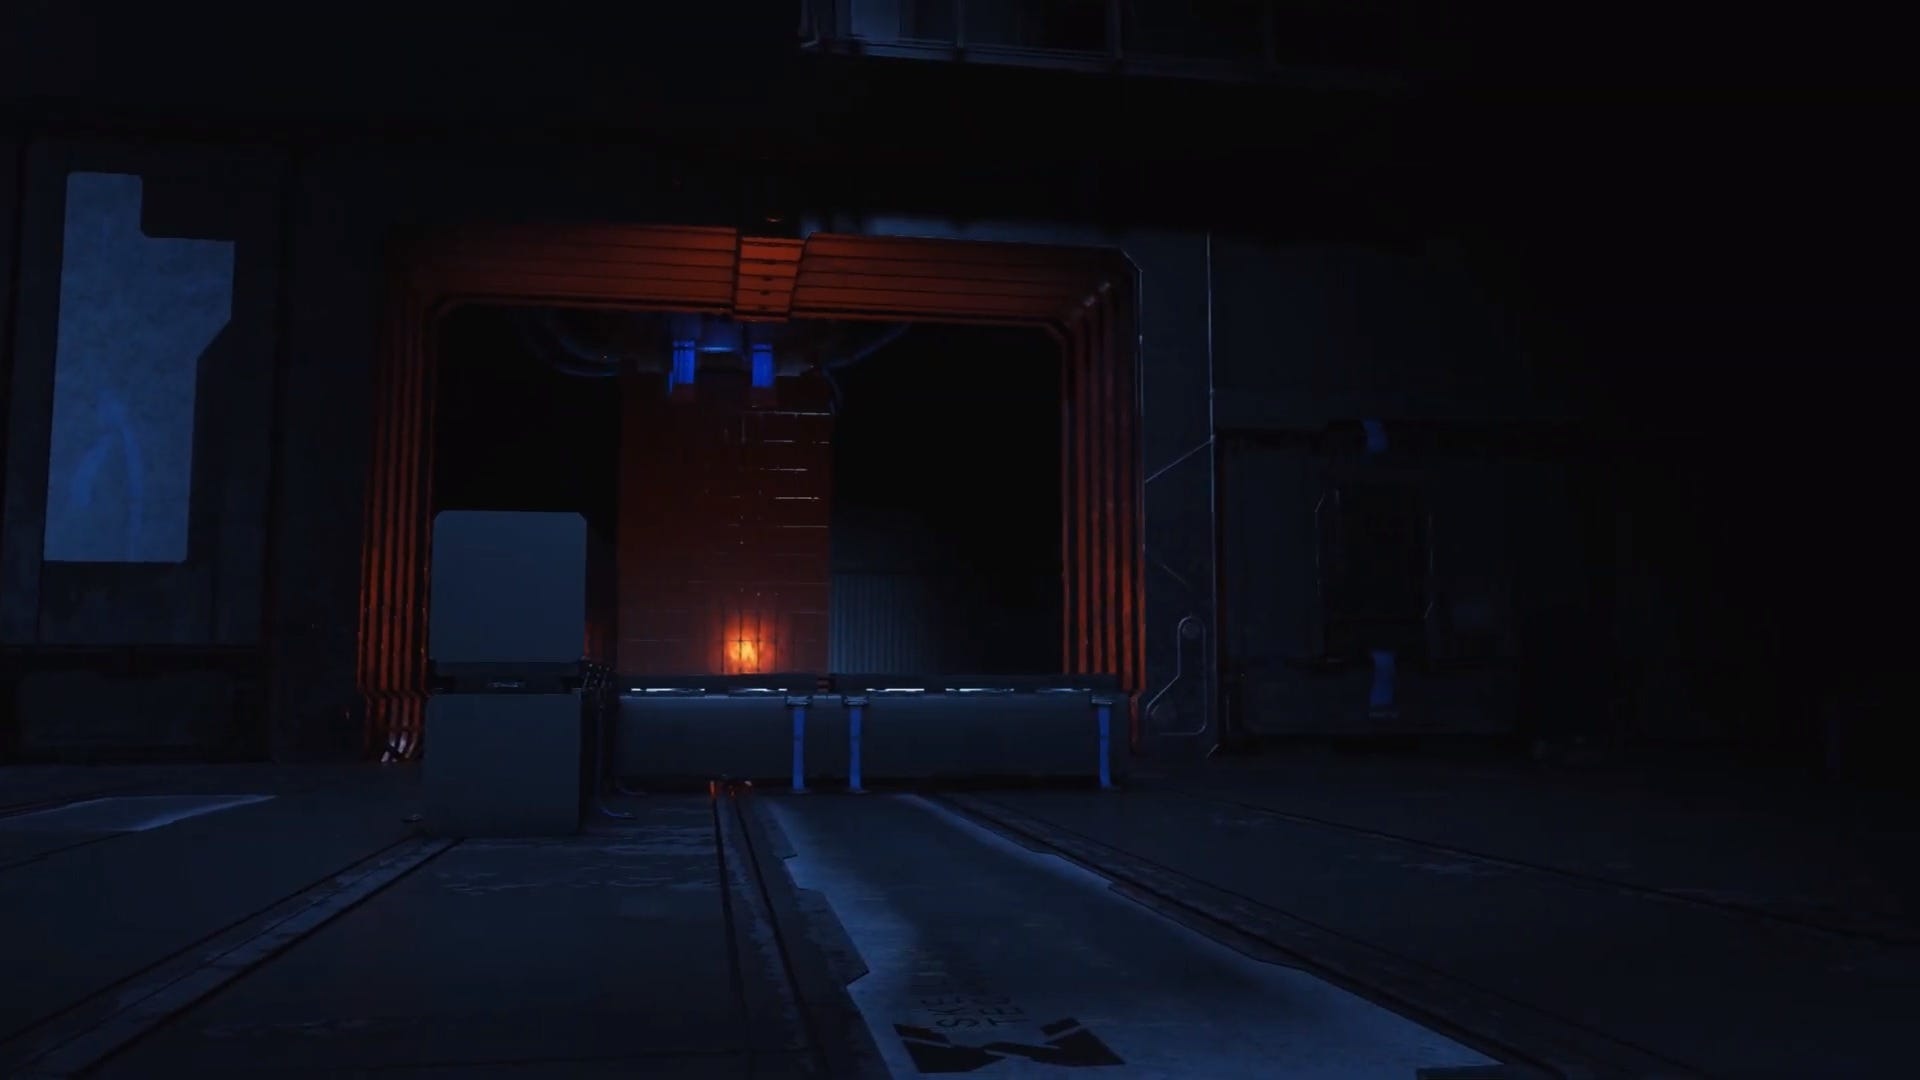
The Titan Beta raid boss fight is against a Super Computer. This is a giant computer with three separate servers. To destroy it, you'll need to open its nodes and shoot at it. You'll need to do this while drones swarm the area, and poison gas is slowly suffocating your team. This means the fight breaks down into two phases: the first in which you'll need to correctly identify and hack the nodes specified in the map room, and a second after which you've vented the area of gas and can start taking down the boss itself.
This is not a fight you want to do with random people. Constant communication with teammates is the key to winning this fight. To start, assign one player to the in-game map room. This room contains two maps which show all the nodes players need to interact with across the area's two floors. This 'map player' needs to look at these maps and call out when nodes on it light up, so that their three teammates know what nodes to go push next.
In our map below, we've made it easier for everyone to call out directions by separating the nodes on each floor into different types. If nodes 2, 5, and 9 light up in red on the in-game map, the map player could say "Water 2, Centre 5, Upper 9". You can assign your own calls if that's easier. The main thing is that you each understand what points are being spoken about.

Map key
- Green circles - The maps the 'map player' needs to watch for information about the nodes.
- Orange, Blue & Pink squares - The nodes other players need to press. We've given these names so they're easier for the map player to call out when they light up.
- Yellow circle - Where drones spawn from.
- Red circles - The three parts of the server which need to be destroyed.
Both floors fill with toxic gas constantly, with enemy drones spawning through a hatch (marked by the yellow circle) on the second floor. If the toxic meter at the top of the HUD fills completely, your team will instantly lose the fight. You'll need to assign each person a role when you first go into the fight. One person will be at the bottom left of the map in the map room (green circles), who we'll call the map player. Everyone else will need to follow their instructions. We've got tips for both kinds of player.
If you are the map player
Your main role as the map player is to ensure the safety of your team who will be following your instructions, with the ultimate aim of venting the gas. You will need to do the following:
- Look at the two maps in the south-west corner of the room.
- Call out which nodes are highlighted in red at any given time.
- Take out drones to support your team.
- Climb the stairs within the map room and push the centre panel once all nodes have been activated in order to vent the gas.
- Push the left or right panel only if needed.
Inside the map room are two maps which show nodes with green and red lights. The map player's job is to call out which nodes on each floor have red lights, denoting that they need to be pressed. Your secondary task is to help take out drones as they appear.
Upstairs from the map room, you'll find three more panels that the map player can press. The centre panel should only be pressed if all the panels the map person has called out have been pushed. This will vent the gas, reducing the toxic meter at the top of the HUD, and making the next stage of the boss fight possible. Press this button too early though, and the fans won't turn on.
The other two panels to the left and right from the stairs are special abilities designed for dire emergencies. The left panel releases oxygen that instantly takes away all the poison in the room for a short time, buying you more time, but the panel has a long cooldown timer so you need to use it sparingly. The right panel stuns all the released drones, buying you time if you find you're struggling with too many drones spawning in the area. Again, this one has a big cooldown timer so use only when desperate or someone is downed. You'll likely only be able to use the left and right panels twice in one fight.
If you are not the map player
The other three people in the squad will be reacting to the callouts from the map assignee. One person should always be on the second floor, while two are on the bottom floor. Your role will be to do the following:
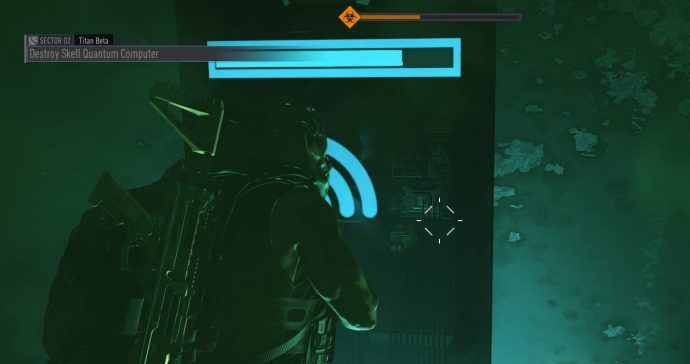
- Press the node buttons that the map person has called out.
- Help in eliminating the drones when you're finished pressing buttons, especially if on the second floor.
Each node takes a small amount of time to turn green once pushed, so make sure you call out to your teammates when the process is complete. Pushing an incorrect node or pressing the same node twice will result in the node button-pusher being instantly downed, requiring someone else to pick them back up.
It's worth noting that you may find that multiple nodes can appear on one person's set and none for another - so, for example, you may find that the instruction you're given is "Water 1, Water 2, Centre 5, Center 6". If this is the case, the person who didn't get a call-out should focus on taking out drones.
Once all the buttons have been turned green, the map player should climb the stairs in their area and press the middle button to activate the fan and vent the gas. This gives you some literal breathing room, and the opportunity to damage the boss. We've got tips on how to damage the boss below, but note that you might need to repeat this map phase multiple times before the boss is fully destroyed.

Titan Beta raid boss - damage phase
After killing the drones and activating the panels - making sure to only press once if you had a callout - reconvene at a point where you can see one of the three parts of the boss. We've highlighted these boss areas in our map in red circles. The map player should join the others to assist in damaging the boss once the fan has been activated.
There are two panels on either side of each boss area, which need to be pressed simultaneously to make the weak points vulnerable for a short amount of time. You will only have enough time to activate each of the panels for every boss area once per damage phase. One of your team should be focused on taking out any drones if needed.
Once you've pressed the panels, shoot at the gaps that open up to damage the boss. It's here that I share an important tip: do not destroy each part of the boss the first time you go to damage the computer itself. As soon as you destroy one of the three boss parts, you'll have a swarm of heavily armoured drones begin to arrive on the scene, making things much harder when you inevitably have to go back to your positions and repeat the map phase.
It's better to damage each of the boss areas enough for the blue health bar to be nearly depleted. Once the first health bar is down, a white one will appear in its place. Thankfully this goes down much faster than the blue one. Once you've attacked the third boss part to almost but not quite destroy it, you'll need to perform the steps in the map phase again as gas will have resumed filling the room.
As long as you've damaged each boss part enough during the first damage phase, then you should be able to finish each part off swiftly during the second damage phase with the extra armoured drones only there attacking you for a short time before the end of the boss fight. When you have destroyed all three parts of the boss, make sure you kill the drones as well afterwards as they will continue attacking you.

Ghost Recon Breakpoint Project Titan raid boss guides
Upon defeating Titan Beta, you'll receive a few item rewards for completing that part of the raid. The items are semi-randomised with a mixture of Elite and Signature gear. With the second raid now done, you'll only have two more to deal with. We've put the rest of the guides for each of the Ghost Recon Breakpoint raid bosses below:
- Ghost Recon Breakpoint: Titan ALPHA - Baal
- Ghost Recon Breakpoint: Titan OMEGA - Gargoyle
- Ghost Recon Breakpoint: Titan ZETA - Cerberus
Ghost Recon Breakpoint guide links
- Ghost Recon Breakpoint guide - The main guide for Ghost Recon Breakpoint, together with some tips for beginners.
- Ghost Recon Breakpoint raids - Go back to the Raid boss hub page for more information on the game's new raids.
- Ghost Recon Breakpoint signature weapons - Where to find the best guns in the game.
- Ghost Recon Breakpoint blueprint locations - Learn how to find blueprints and how to craft weapons.
- Ghost Recon Breakpoint bipod location - Where to find the bipod attachment.
- Ghost Recon Breakpoint NVG locations - Location of several night vision goggles.
- Ghost Recon Breakpoint health - how to heal injuries and healing item recipes.
- Ghost Recon Breakpoint Erewhon - where everything is in the hub, and how to get out.
- Ghost Recon Breakpoint skills - All class bonuses and all the skills and perks listed.
- Ghost Recon Breakpoint PC performance - How to get the best performance for Ghost Recon Breakpoint for your rig.
- Ghost Recon Breakpoint preorder/bonus items - how to unlock your preorder bonuses in-game.
- Ghost Recon Breakpoint weapon parts - All the information you need to get weapon parts and other gear in Ghost Recon Breakpoint.
- Ghost Recon Breakpoint gear level - Everything you need to know about gear levels
- Ghost Recon Breakpoint Faction missions - Find out what Battle Points are, the difference is between Faction Missions and Faction Support tasks, and the rewards for Battle Tiers.
- Ghost Recon Breakpoint Year 1 - All of the upcoming stuff coming in the next year to Ghost Recon Breakpoint