
The Complete Guide to Guild Wars 2 Dungeons
There are 8 different dungeons in Guild Wars 2, all of them very unique. Starting at Ascalon Catacombs and ending up in Arah. Each dungeon has a story path except Arah. Story dungeon paths also tells the story of Destiny’s Edge group. The Story path does not offer any tokens, just coins, but in Explorable you can earn both coins and tokens.
The Dungeons go in order by levels, the first number being the level required for story and the second being what level is needed for explorable. Dungeons in order are:
- Ascalon Catacombs (30/35)
- Caudecus’s Manor (40/45)
- Twilight Arbor (50/55) - The Aetherblade path is the exception to Twilight Arbor it is level 80
- Sorrow’s Embrace (60/65)
- Citadel of Flame (70/75)
- Honor of the Waves (76/80)
- Crucible of Eternity (78/80)
- The Ruin City of Arah (80)
There are also seasonal/special events that have dungeon activities as well. Mad King (Halloween) has the Ascent into Madness, very appropriate name for that event from my experience with it. Wintersday (Christmas time) has Tixx’s Infinirarium that has things to smash and build and try to survive that deadly toy onslaught at times. Super Adventure Box is very Mario reminiscent in the graphics that are pixelated, and the layout as well.
Achievements:
- Dungeon Master is achieved by doing all the dungeons (story and explorable).
- Dungeoneer comes from a rare collections achievement that contains all the items from finishing the dungeon related Basic Collections for each dungeon.
- Hobby Dungeon Explorable - the prerequisite for this achievement is the Dungeon Master title. Each time you finish 5 dungeons you earn 5 Achievement Points, which you can repeat until you reach 200.
- Dungeon Frequentor - Once you complete 8 different dungeon paths, you earn 5 gold and a chest of dungeoneering, which allows you to choose 150 tokens from the dungeon of your choice.
The Dungeon currency can be spent on armor or weapons, as well as, the gifts needed for legendaries. AC is Ascalonian Tears, CM is Seal of Beetletun, TA is Deadly Blooms, SE is Manifesto of the Moletariate, CoF is Flame Legion Charr Carvings, HoW is Symbol of Koda, CoE is Knowledge Crystals and Arah is Shards of Zhaitan.
Ascalon Catacombs
The first Dungeon on the list is one of my favorites, Ascalon Catacombs(AC) and it is located in the Plains of Ashford.
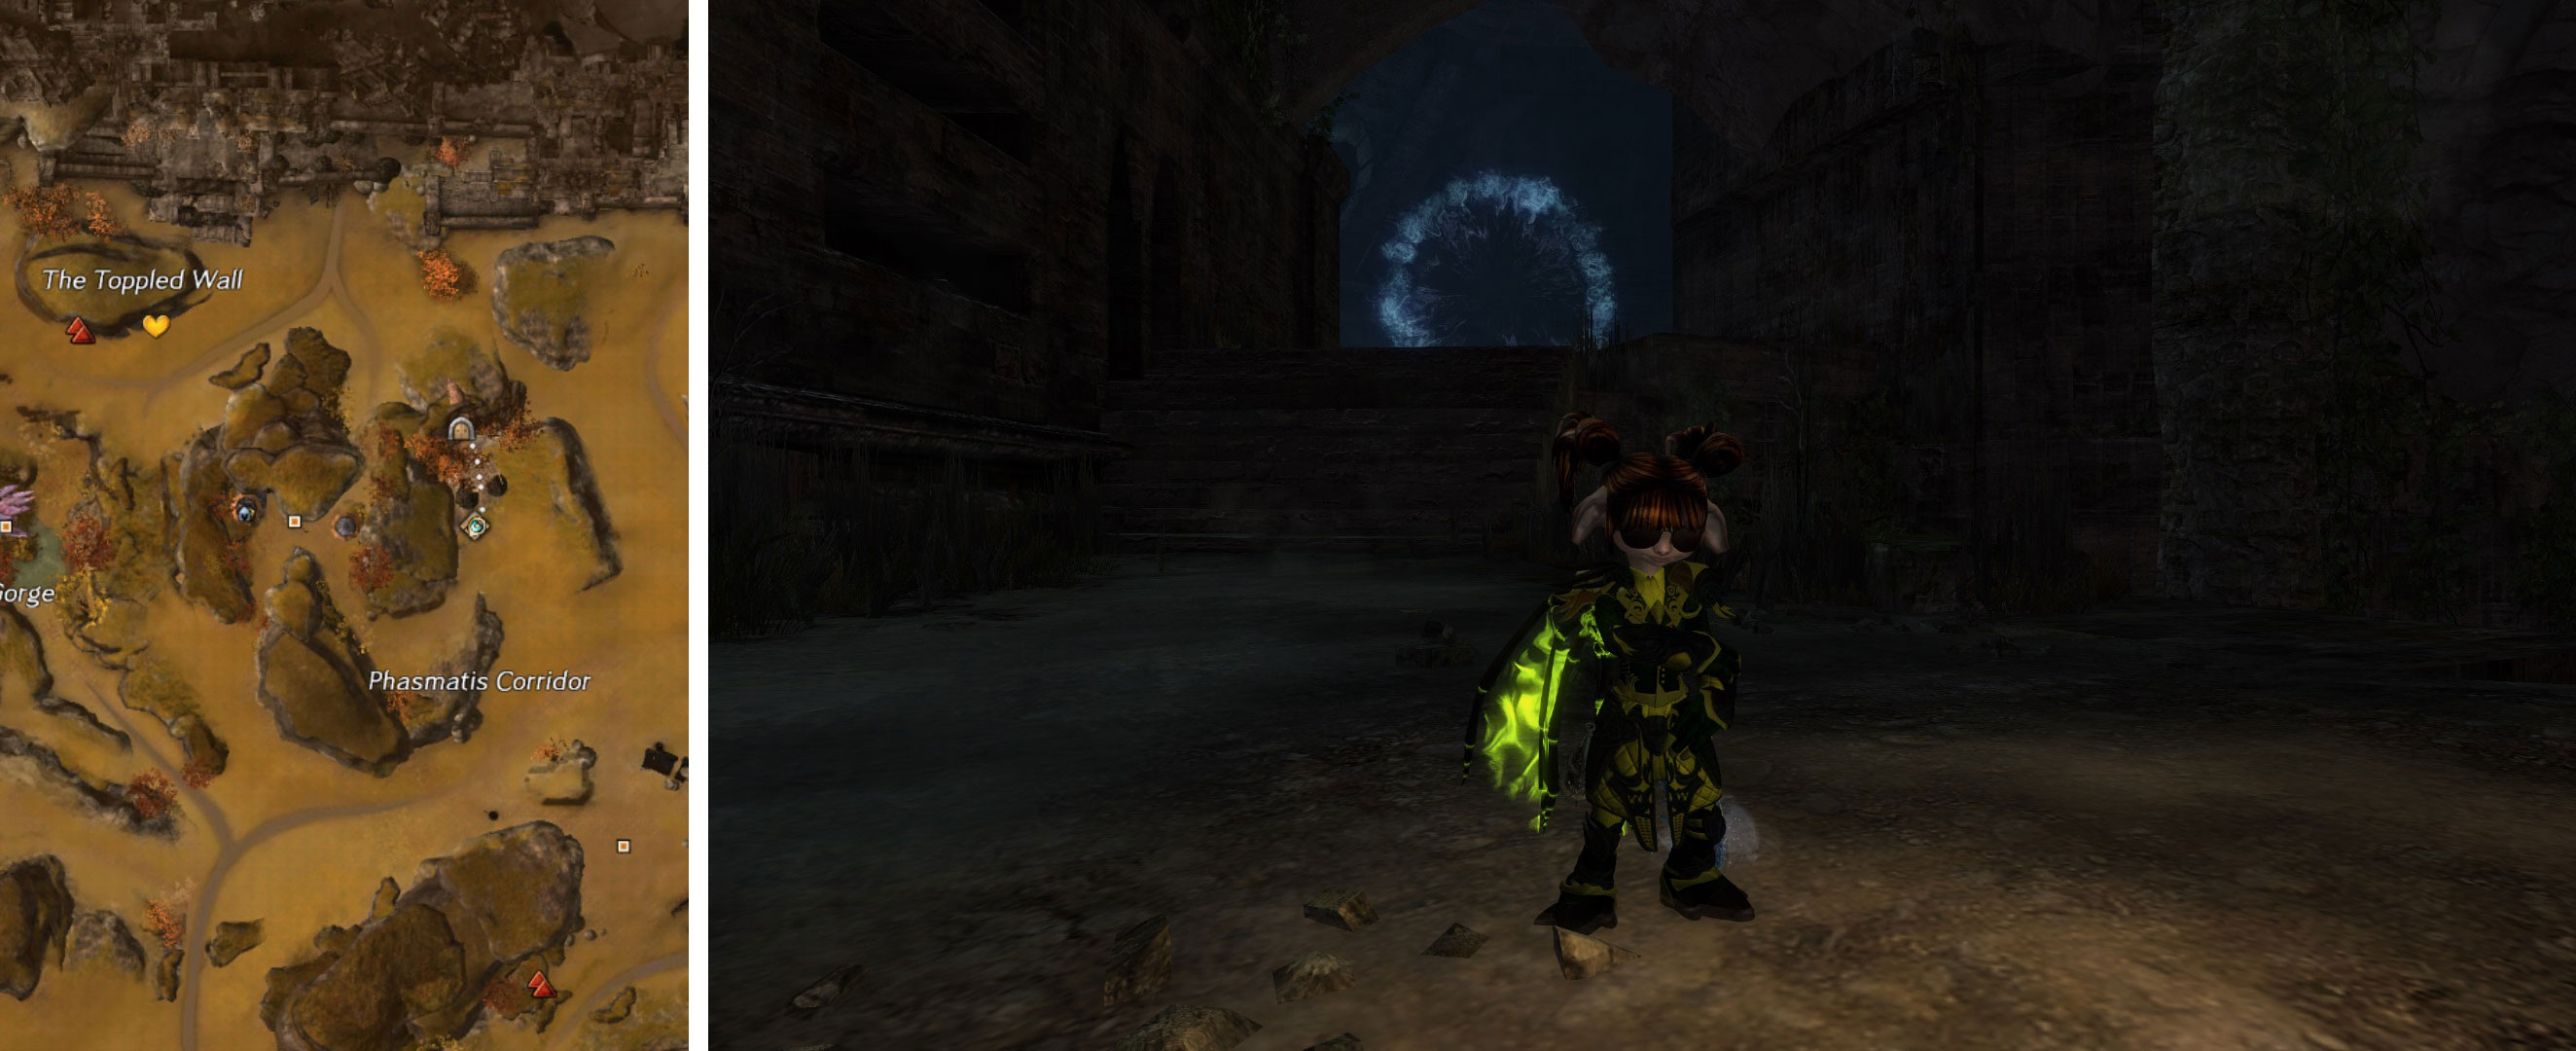
There are three explorable paths to this dungeon: Hodgkins, Detha and Tzarks. The Priory Encampment is where we pick our path. Each path is different but they all have a massive graveling as the final boss to fight. As you go along in the different paths, there is the chance that the famous cave troll will pop out and surprise you. In Story mode he’s kind of a pussycat to fight but in the explorable he’s one mean troll!
As well, each path has a similar start in that, once we pick our path, we go down the stairs to the spider room to defeat the Spider Queen. After her, there is a tunnel of traps to navigate before we fight Lieutenant Kholer. Defeating him, the paths variate in how they are explored.
Hodgkins
The first path, we escort Hodgins to the south tunnel, navigating the flaming steps by simply “skipping” or running on the top of the flaming gargoyle heads. In that room, we must defend Hodgkins from gravelings, while simultaneously defeating the graveling burrows (there are three on each side).
The next step is finding the secret sceptre room that kicks off the next event, where we have to find the flaming sceptre pieces. Locating those, the player who stayed behind, talks to Hodgkins allowing us to move forward through the maze of tunnels to our final boss.
The Howling King has a nasty howl and a breath attack, so make sure you are not standing in front of him. Any mobs that arrive can be taken care of by skirting into the AoE that Hodgkins puts on the floor, just make sure you don’t run through it yourself!
Detha
For Detha, the second path after Lieutenant Kholer, we descend into a room that has traps. This is where we have 2 people on either side at the top 2 traps and one down in the middle operating it. Other people can help kite the breeder and trying to keep her off Deetha, the players operating the traps help slow down or kill the smaller mobs that spawn.
Our last and final fight takes place in the Hall of Champions. As Detha sets up traps, we defend her by killing the ghost mobs that spawn. The Patriarch is our final boss that we fight after we talk to Detha, once she’s finished building the traps.
Final step to filling the traps is having one person targeting the Ghost Eater that spawns oozes. One person “lifts” and another person “drags” the oozes onto the trap. Some groups will fight the Ghost Eater with one trap, some will fill all of them. The traps are the only way to knock his ghostly shield off to be able to damage him. It is most satisfying to beat this boss since the mechanics definitely need team work on this one.
Tzark
The third path we escort Tzark down to the Lover’s room (running through ghosts at the entrance) where we wait for him to set up his collectors. We have one person who is in charge of keeping the gravelings off the collectors, being if they both fail we lose, but luckily we can get by with one. The collectors get filled as we beat down the barrows that spawn (15 in total), the faster we do, the better the success rate in keeping the collectors fully up and running
A door opens after the collectors are full and we become ghosts. We run through the next room full of spiders and up the stairs into the big room (where we find the sceptre pieces for Path 2 and the room where we fight the final boss for Path3). There, Warmaster Grast will cause the 4 big borrows to spawn, starting at the first we move as a group to each one beating them down. He then either opens the door for us or we can waypoint to Reliquary Waypoint, and we run down one of the tunnels to the safe room where we stop and make sure everyone is together.
When we fight Colossus Rumblus we need to stay close to Warmaster Grast so we are protected by his bubble shield. The boss rears up and waves his front paws causing red AoE circles where the falling ceiling will hit.. There are rumors of a secret stack spot that allows you to avoid the failing ceiling. When on the ground with him, watch out for his breath (it does nasty damage) as well as the gravelings that will spawn.
Caudecus’ Manor
Second on the list is Caudecus’ Manor(CM), located in Queensdale
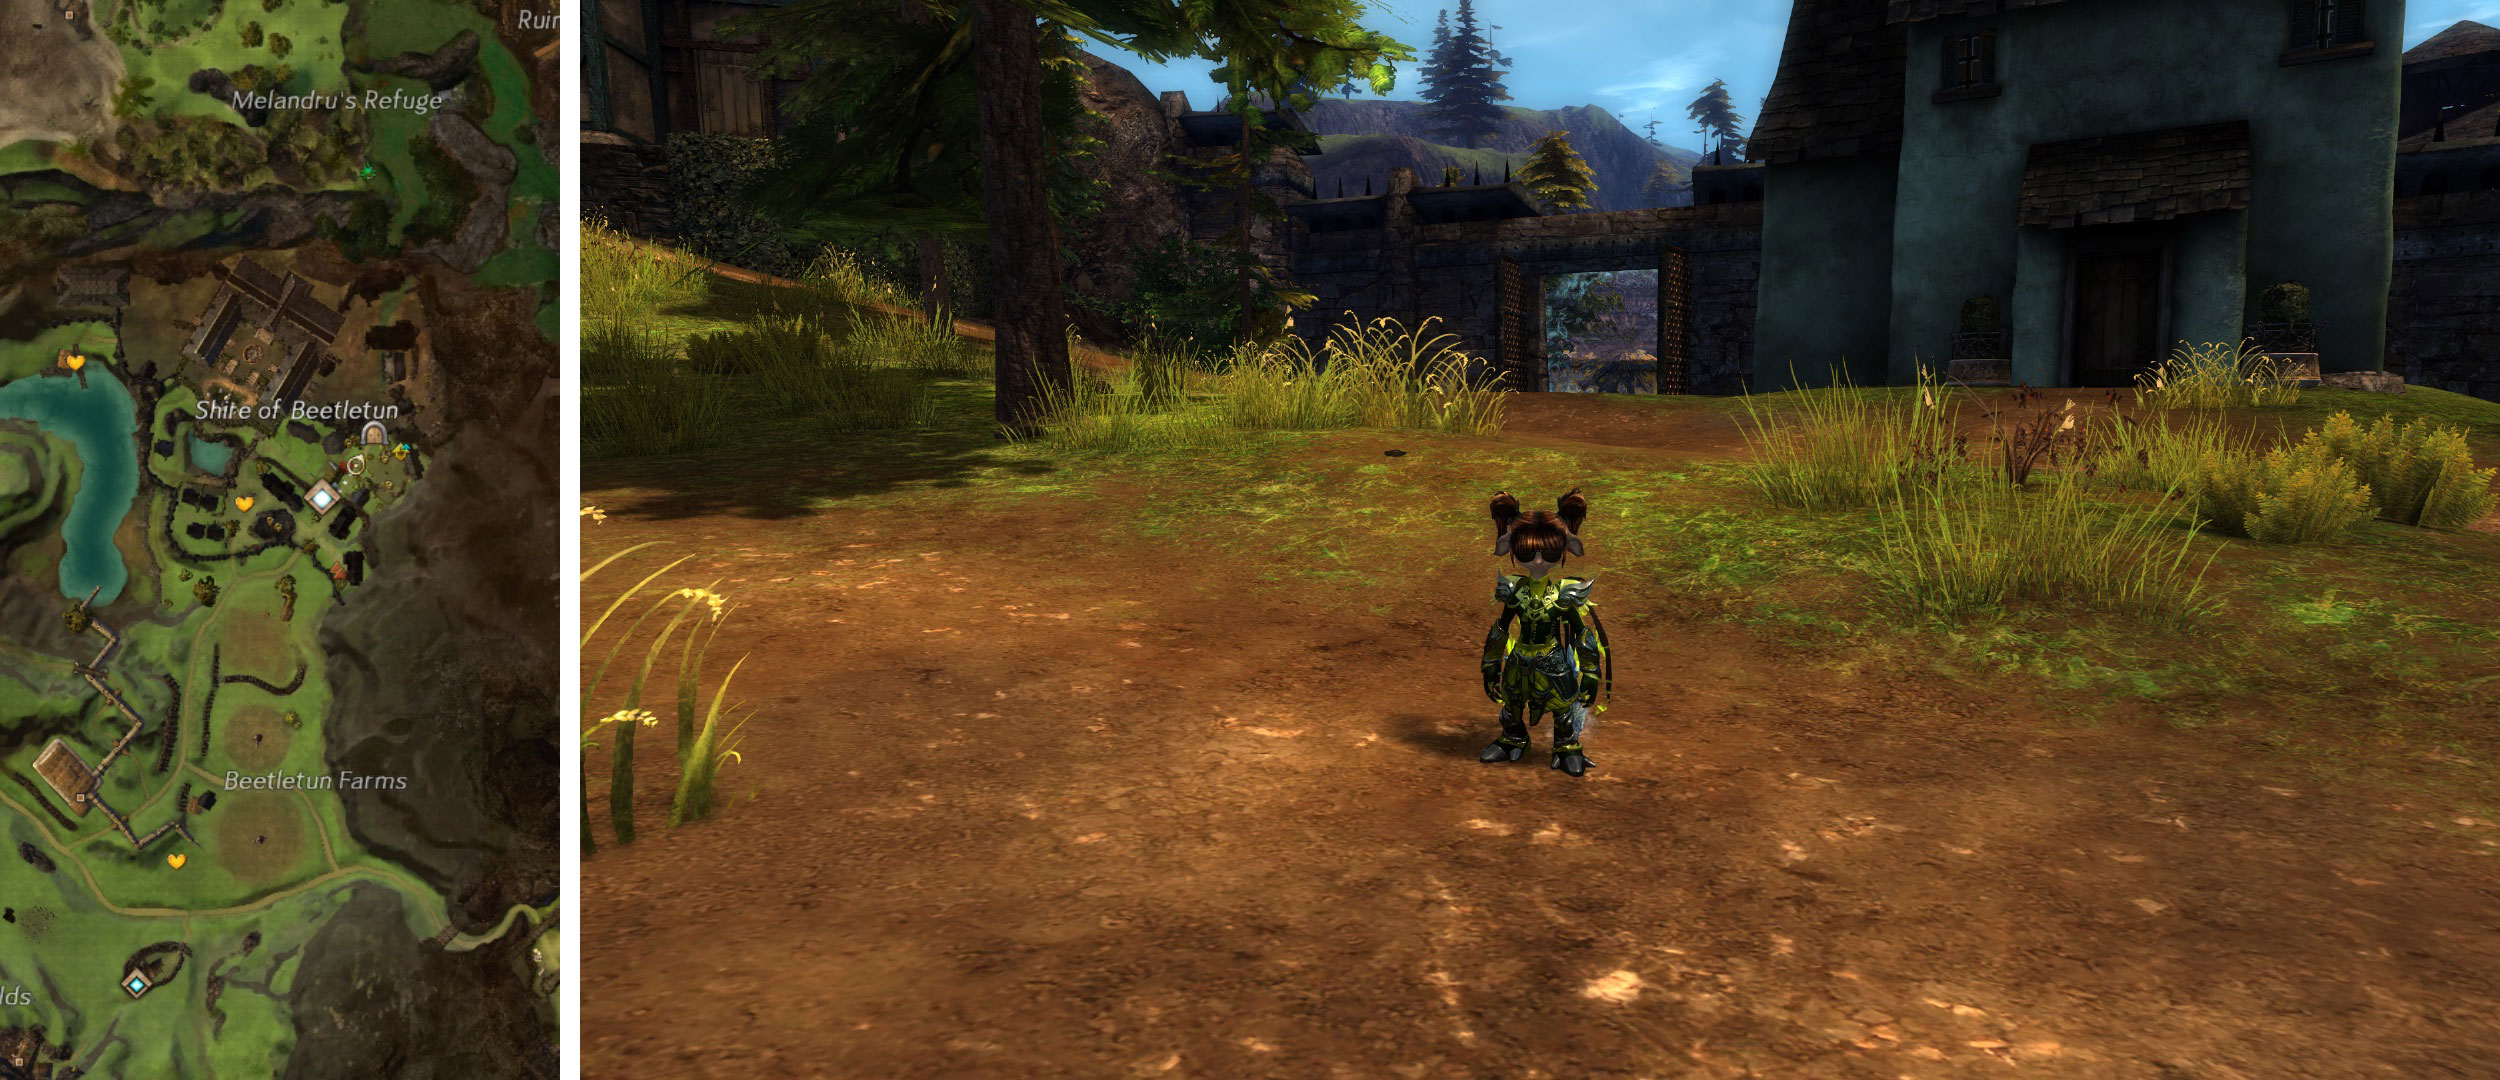
The three explorable paths to that dungeon are: Asura, Seraph and Butler. The paths are full of some characters like Bloody Victoria, Delilah, Mad Martha along with Sure-shot Seamus and his shotgun with a blast that hurts!!
Asura
The first path is the Asura Path, that once we pick it, we find Traffa and lead her to the first bomb spot to blow up. We move into the Manor to the basement via the stairs in the Grand Saloon. Going room to room, we kill mobs and interact with the bombs for Traffa to blow up. The final two bombs are located in the same room as Sure-shot Seamus and some net turrets. Once the final bomb is blown up in the corner, we can run out the open door turning right and running to the corner to escape Seamus.
Moving towards the barn, one member holds the cut scene while the rest run up the stairs and arrange themselves around the top. When the cut scene ends, Gunpowder Morgan becomes active and bandits appear around the top. We kill them then turn to deal with Gunpowder Morgan, who throws grenades causing AoE circles, which are easily avoidable. After he dies, the wall hiding the tunnel blows up, allowing us to move in to fight the mob of four waiting.
Next up is the fabulous Bloody Victoria, where if you stack on her, it reduces her teleporting all over the room.
We stack outside the next room and stealth through the mobs using shadow refuge by a thief. When we are stealthed, we run in and up the ramp, jumping over a railing then running across to drop down and turn into a small room, where we fight the mobs that are at that end. Once dealt with, we kill 2 that patrol the one short tunnel. After stealthing again and running through the next room full of mobs, we go out onto the dock and into the dam area.
Usually we have some that follow and we deal with them before going to our final boss, Frost. There are different ways to fight him, the most annoying parts are his icy breath that can frost you (hence his name) and the rocket turrets. Every 25% a golem will come alive that we have to fight as well.
Seraph
We enter the Grand Saloon for the Seraph Path turning and going up the Western staircase meeting our first set of mobs. There are 2 more rooms with mobs to be dealt with before we get to the last room to find Rosania the medic. Talk to her, then proceed back down the corridor to the stairway but don’t go down.
We like to lure Marius up the stairway before we kill him. Players with range weapons or pets/minions can take out the turrets on the opposite staircase before we proceed up there to deal with the mobs at the top. First door on the left leads to a bedroom that is booby trapped with spike traps and riflemen.
On entering the room, you must stay on the carpet to kill them. Once they are finished, you can pick up a pillow, throwing it across the floor until you reach the chest with the satchel which you need to return to the medic. Mesmers with blink, Thieves with shadow step or Necromancers with flesh worms can easily make it there. Returning the sachet to Rosina, we exit out encountering small groups of mobs to kill.
Our next boss is Bridgette, who uses symbols that can hurt immensely. Defeating her is challenging, but once accomplished you can move onto the powder kegs to blow up the gate. There are five rings that we have to stand in and coordinate setting down the barrels at the same time. When the door explodes open we run in and to the right and kill the mobs that follow us. After dealing with them, we move down the path, one group at a time taking them out and encountering Mad Martha, who we like to lure away from the groups to kill without interference.
Getting to the end of the path brings our final boss, Turmain, who is a necromancer. He casts big AoE circles of various conditions, so it's best to range him, making sure to stay out of the AoE. He will go invulnerable from time to time and charges towards a random player causing some serious damage.
Butler
The last but not least, is the Butler Path! Entering the western doors into the garden, we find Albert the Butler surrounded by Sure-shot Seamus and his associates. It’s best to kill off the associates first before dealing with Seamus, but make sure you avoid his shotgun blast because it can hurt badly.
This path is the opposite of the Asuran in that we enter into the basement instead of exiting, killing the mobs as we go along, again room by room, getting to the end with the line of riflemen and turrets. Reaching the end, there is a button to open a door to the next tunnel containing ten rocket turrets that we use “guns” on to reflect the turrets blasts back to destroy them.
The next room we reach, we find our next boss, Wahlen, who uses Grenades that cause AoE circles. The fun part after killing him is navigating the tunnel filled with traps to reach the end and kill the rifleman waiting.
The next 2 rooms are the same as in Path 1, stealthing pass the mobs to reach our final boss Vallog, who is a centaur boss. He won’t activate until we kill the three riflemen, allowing the people to escape. You can melee or range him, but if you range him you have to watch out for his whirlwind spin that will reflect projectiles back to you.
Twilight Arbor
The third on the list is Twilight Arbor (TA) located in Caledon Forest.

There are 3 paths in this dungeon but the difficulty level for the Aetherblade is actually 80, where as the other 2 paths, Leurent and Vevina are scaled for a level 55.
Both Leurent’s and Vevina’s path start out the same. We talk to Caithe, once we enter, to select the Nightmare Court must be stopped or the Aetherblade. Selecting the Nightmare Court allows us to talk to Morrigu who opens the door for us to enter the dungeon. Making sure to kill the volatile blossoms as we go, we will encounter a pack of Nightmare Court Hounds, that we kill. The next room has Husks that we simply run by, having the first person go left or right, allowing the rest to run past them, for the most part safely. Scouting past them (or killing them depending on how blood thirsty you are), we keep to the left and stop in a little niche before starting the next fight.
The smaller Nightmare Vines we move from one to another, making sure you do not kill all the volatile blossoms so you have something to rally off, until the Greater Nightmare Court Vine spawns. Stacking on the Vines allows us to easily heal a downed player. Once the Greater Nightmare Court Vine is destroyed, we have the option to go up (Leurent) or forward (Vevina).
Leurent
On Leurent’s Path(Up), once Morrigu opens the webbing, there will be spiders to kill. Moving upward we’ll get 2 more sets, then we stack just outside the room with our next boss. Mairona is surrounded by mobs of spiders which we pull a group at a time to the corridor to fight.
Once the room is empty, we move on to fighting her, making sure if you melee her that you do it from behind, or you can range. The reason to fight from behind is her Venom Spray Attack, also you need to stay out of her red AoE circles.
Once she is dead we keep moving, encountering more spiders to fight. Moving forward we take the left fork, taking care not to agro the Vines that spawn, also making sure to keep the volatile blossoms down. Running into the room, we’ll see spider mobs, just run past those keeping your mobility, down the tunnel to almost the end and stack.
Our next boss, Fyonna, changes into a spider at 50%. We fight her by pulling her to our stack spot, carefully not letting her go back into the room or too far up the tunnel so she won’t rest. After defeating her, move carefully through the room, not running into the spider sacs that are full of poison.
Exiting that room we see a group of Nightmare Court that we generally kill. Reaching the cliff edge, simply drop off, evading the Nightmare Court there, taking out the volatile blooms if we can and dropping off again at the edge. Gathering up our health, we move forward to stack to kill the 2 Nightmare Court guarding the final gate. Generally one person holds the cut scene once we move into the final room.
The Nightmare Tree is our final boss who spawns healing turrets (don’t worry about those) and mortar turrets (we make sure to take those out when we can). There are also red AoE circles spawning that you need to dodge out of.
Vevina
Vevina’s path moves forward into a room full of volatile blossoms and 6 Elite Nightmare Court Archers. Going left, we take out the volatile blossoms until we get to the end, where, the Archers turn red. Turning around, we move back up the way we came, killing the archers then turning left to go down the right side killing the Archers on that side, ensuring we also take out the volatile blossoms.
Morrigu tears down the webbing, then we enter the water for a short swim, exiting the water to stay on the right side of the mushrooms and running under the bridge to stop. A player with range weapons will pull the 2 Nightmare Court off the bridge to where we are so we can fight without aggroing anything extra. Moving across the bridge takes us into a room where 4 Elite Nightmare Court Archers are in bubbles. Running into the bubbles will put you in a downstate, plus projectiles won’t fire through, but reflect off back to the player. Non projectile ranged and AoE attacks will pass through the bubbles. A gear icon is on the mini map, showing where it will exit out into a bubble. Once you enter an unshielded port, it allows you to fight the Elite Archer in their bubble.
Leaving the room after the fight, we encounter a pack of Elite Nightmare Hounds, once past them, we take the fork in the path to the right. Reaching the corner, we round it to find Nightmare Court. Moving forward to cross the bridge, we fight each Nightmare Court group as well as taking out the volatile blossoms until we reach a guarded gate to the tunnel. Passing through there after fighting those, is a tunnel full of volatile blossom we target to destroy until we reach the end to turn left. There are more volatile blossoms and Nightmare puppies to kill as we run upwards to the end and exiting to our right.
Keeping to the right wall, we drop down twice before we get to our next fight. Stacking, next to the rock, we watch the interaction before Leurent and his group activate. Generally, we try to pull just one, but usually it seems they all come.
After Leurent’s defeat, we move to the last boss, going down the tunnel, where one person holds the cut scene, allowing the rest of the group to get to the back of the room, then allowing the last person to join.
Our final boss is the Nightmare Tree again, only instead of mainly turrets (though there are a few), he has ghostly Veteran Oakhearts spawning. These don’t disappear once the Nightmare Tree is defeated, you have the option of killing them or simply exiting the Dungeon.
Aetherblade
The Aetherblade path is a more complicated path that ties in with the Aetherblade Pirates. You enter the Dungeon like you normally would, but once you select the Aetherblade Path, it will move your group into the path directly, skipping the Reception Hall. Aetherblade Path is complicated and it’s the only path in this Dungeon I won’t be touching on, simply due to the fact in how unique it is. It is also the only Dungeon path that has its own achievement section under General section right below Dungeons. There are 17 achievements you can reap out of this path, one of them being Pirate Booty, locating the 5 Aetherblade chests after finishing the dungeon before running out of time.

Sorrow’s Embrace
The fourth on the list is Sorrow’s Embrace(SE) which is located in Dredgehaunt Cliffs.

The paths in this dungeon are: Fergg, Rasolov and Keptov
Fergg
Fergg’s path is fairly straightforward and quick to do. Starting off, we enter the Asuran Portal that activates after we pick his path. Run down the iron bridge and jump over the fence on the right hand side, onto a ledge.
A cut scene pops up and the first group of inquest run by, then we jump back over to start beating down the barrier turrets. There is a golem a little further on down the bridge, putting our backs to the side wall, we kill him. Continuing on, we keep breaking the barrier turrets down, until reaching the last boss. Making sure to keep your back to the door (especially on the platform in case he punts you into the lava), we fight Nokk. The door to the tunnel opens up revealing a line of golems and bombs on the floor. Simply run past the golems at a safe distance from each other, (you won’t blow up but your buddy will), you reach the end and go into the next room for the fight with the three golems.
There are 2 ways of doing this fight, stacking behind the door on the right side, or running into the tunnel on the left hand side of the room. The three golems are Prototype F-IV (fire), E-IV (electric) and T-IV (poison). The fire golem throws fire bolts and lava fonts, the poison golem will pull you towards them as well as spreading AoE damage of poison and with the electric guy if you spark, don’t stand next to anyone!
The last boss we meet in here is Tazza, who we carefully lure out into the bigger room. Stack on Tazza once she’s on the floor, making sure to dodge out of the AoE circles that spawn from her attacks, time to time.
Rasolov
Rasolov’s Path starts out by crossing the bridge to a barricade that we break down and destroy the mobs defending it. Moving forward we encounter Foreman Kreutzerova and after defeating him, there will be some conversation, then 4 more Foreman will spawn which we demolish one by one. After killing all four, we escort Rasolov, making sure he stays alive while we fight the dredge that spawn until the room is clear, so he can pick up his boulder and slowly walk back to drop it in the bucket, opening the door up for us to further proceed into the dungeon.
The next fight is the Taskmaster, who is in a room full of dredge mobs. The Taskmaster has a shield we need to get rid of so we can damage him. Dropping off the left hand side of the landing, we maneuver him into the smasher, being careful not to run under it ourselves, to get his shield down. Once the death blow has been dealt, carefully avoiding the patrols of dredge, we make our way over to the dredge carrier marked on the map.
We need to pick up glowing rocks and hand them to Rasolov filling the bar. The carrier then rams through the door, we pull the dredge bombers carefully through, fighting the first before moving into the room and killing the first mob there.
The objective in this room is to take out the mortars (5 in total) so when we do the final fight, we won’t be shelled, there will be a Champion guard. The next step is to make our way across the top to drop down to a closed door on the outskirts of the room.
There are Mining Suits and other dredge we take out first before meeting War Minister Shuko, alongside 2 Champion Golems, The Mark 1 and Mark 2. We don’t fight the War Minister simply the 2 golems. We focus on whichever one is not attached to the Minister by a beam, carefully making sure they stay close to each other in health. The reason being, we want to get both down to 10% before finally taking them both out. If we fail in taking them both out simultaneously, they will revive, but won’t enter the Energized state.
Koptev
Koptev’s Path starts a little similar to Rasolov in that we cross the bridge to the barricade on the other side breaking it down and killing the dredge in front. Pressing forward, we meet three bombers that we kill as fast as we can (bombers are a priority), we move to the path on the right making our way to the ramp and running down it, turning to our right and running past the stairs to stack next to them.
General Volkov spawns with a few mobs, once he dies, the door opens to further adventure into the dungeon. More dredge will run out, we simply kill them, moving onwards. There are 2 ways to go next, as soon as you enter the door, you turn left at the opening, dropping down carefully and trying to avoid the spiders to break down the barricade at the end, meanwhile taking out the mortars, if you can, along with the champion. The other way is to simply press forward, meeting the dredge coming up and killing them on the way down to the barricade, breaking it down and destroying the turrets and the Champion.
After reaching the bridge either way, cross the bridge, turning to your left and carefully drop down to the ledge, making your way to the end and drop down again, checking to make sure to jump far enough to miss the gap. If you don’t, the hot rocks from the lava will kill you and you’ll have to run back from the waypoint.
Our next boss up is General Molradovich, he is fought by stacking on him as the fire rings will do less damage than spread out. If you are on fire, simply jump on one of the water fonts, then stack back on him. Carefully spread out after the fight, keeping your distance from your fellow guildies until the red circles from him disappear.
Moving forward, more dredge spawn behind us, simply fight them until they are dead. Ahead of you, an armored dredge carrier spawns along with some mobs, just focus your fire on the carrier, killing the mobs if necessary. A champion spawns, you can fight him for the loot, or high tail it out of there after picking up your chest (if you don’t have autoloot).
Further down the tunnel to your right is a ramp, turn onto it and go the top, stacking behind the door. There are 2 champions there that we kill to open the door. When the door opens, stack behind it and have someone pull General Zadoorjny and his goons to you, making sure you get the bomber first. Once dispatched, then you can proceed to the final boss, The Destroyer of Worlds. His main attack is ground AoE that burns if you don’t avoid it.
Citadel of Flame
The fifth on the list is Citadel of Flame(CoF) located in Fireheart Rise.

Quite often this dungeon’s waypoint is contested making the dungeon unavailable. When this happens, you must complete the events to open up the dungeon. The first event starts off with escorting Razen the Raider to the gates. Upon arrival you must hold and defend the bridge staying within the blue “lines” ensuring you defeat the waves and keeping Razen alive.
Once you are successful you may enter the dungeon to talk to the NPC, who opens the gate for you to go down to the center where you pick your path. The three paths are Ferrah, Magg and Rhiannon
Ferrah
On Path 1, Ferrah’s Path, we accompany her to the Foundry, after Magg blows the door to the Foundry area open for us. Once the door is open, we take out the flame turrets, then the mobs that are on the other side.
We proceed then down the path to fight the Slave Driver. He has a buddy, a Flaming Effigy, but you can ignore him for the most part. To find the missing engineer we will head up the path past the waypoint to a door that will open up with mobs on the other side, which we simply kill.
Going across the bridge on the other side, we’ll find more flame turrets and mobs we take down. In the next room, simply move past the bowls and out onto the rock outcroppings and wait for the acolytes to spawn. We need to kill a total of ten acolytes, but only four at a time will spawn. Once they are dead, our next stop is to get into the Enkindling Chamber.
The dungeon door opens revealing 2 bowls, where once we enter, the bowls kindle with flame and rolling fiery balls go back and forth, but staggered. The trick is having three people make it across with the balls of fire from the bowls. If we can’t make it all across, either first time or multiple attempts, a mesmer can blink across to the bowls that have to be lit, drop their first part of the portal, waypoint back, then drop the other portal half behind the players, who pick up the balls and portal across, putting them in the bowls.
Successfully done, the door opens up revealing a room with four brasiers that have to be manned. The party splits up, one person to each of the brasiers, keeping the domes on them, ensuring the other person can enter the Sanguine Vault, breaking down the door controller. It’s important that everyone stays close to their braisers, otherwise the door controller is protected by a dome.
Also keep in mind, watch out for the Flame Legion Haelstorm with his fire AoE that hurts! Once you lose aggro off him, you can move to the last boss, the Searing Effigy. It is important to kill the Searing Crystals in the circle around him which heal him. Watch out for his attacks and the crystals, he’s not a hard fight at all.
Magg
We start off Magg’s Path by accompanying him to find his contact going up the bridge to meet our first flame legion. Once dispatched, we proceed toward the mark on the map that moves to the first cell. Magg inspects the cell, triggering the devourer nest outside the door.
Moving forward, the second cell Magg inspects causes a whole row of devourer beasts to spawn, that we dispatch as we move up the path. Reaching the end at the top is an open door with three Flame Legion in the room, that we kill which allows the chain to be active for us to pull open another door.
Exiting that room we move not down, but along the path to the room to meet the Prison Warden. If you can kill the Warden fast enough, you won’t see the giant devourer that can spawn when the Warden is low in health.
Going deeper in we reach a chamber, that once Magg is in, it allows us to talk to him to active bombs for us to gather to take back to him. Success shows us where the Orocyte is on the map, letting us interact with it for Magg to inspect it. Magg mentions Magmacyte, so we head to the lava field, stopping to talk to Magg before we cross it. Using the gun it allows us to “cool” off the orange fields so we can cross it, while trying to avoid being killed by the mobs.
Upon reaching the other side, the successful players jump up on the rocks to lose aggro. After Magg’s harvesting, we waypoint to The Shrine of Sacrifice waypoint as the easiest way out of the lava field.
Escorting Magg, we travel to the Ritual Chamber, where we find,before the door, that it has 2 Elite Godforged Smokelords guarding it. Upon their demise, we have to protect Magg while he plants the bomb, making sure we kill the Assassins before they reach him, making sure to watch that there are 2 Assassins at once towards the end.
The door opens to the Ritual Chamber where the Eternal Flame and Gaheron Baelfire are. One player has to keep Gaheron occupied, while the other 4 spread out around the 4 Acolytes and killing them simultaneously then attacking.the Eternal Flame. It takes about 2 to 3 rounds of Acolytes to be victorious in defeating the Eternal Flame.
Rhiannon
The last path is Rhiannon’s and it is a bit tricky, being the hardest path of the dungeon. For this path we follow Rhiannon down into the swamp like area of the dungeon, reaching this spot on the map activates torches.
We put three people on torch duty with the other two ranging between them to keep the mobs off the players. If the players are mob free, we count down and light the torches at the same time. Completion is marked by flame turrets erupting AoE circles and Flame Legion spawning nearest to the one that is farthest away from where we entered the swamp area.
Once the area is cleaned up we head up the path, though you might find Rhiannon stops following to go back to the swap and focus on the mobs, usually killing what she’s focussed on will make her follow us again.
Running across the bridge, we keep moving forward up the path to another bridge, where we meet Flame Legion we need to drive back and the Siege Commander, who runs away part way through the fight. Pressing forward, at the end of the bridge, are flame turrets we focus on then turn to the Siege Commander.
Once defeated, Rhiannon takes care of the barrier on the bridge for us, letting us move forward to the hall where we have to take control from the flame legion. We have to fight 5 waves of Flame Legion whilst inside the area defined by the line around it. After the 5 waves are vanquished, the lines disappear and the fun part begins.
The tunnel connected to the room has three flame bombs across the tunnel and then after a gap, there is a line of bombs running down the tunnel with gaps between each set.The trick is getting down the corridor fast though and not be blown up and killed. We dodge past the first three, once they are not lit up, you can dodge past them to the safe spot.
Timing it right, with a little speed, so once the first set turns dull, you can run fast down the corridor and enter the room to hide under the rock cropping, so the flame turrets above don’t hit you. If your party can’t make it successfully down there, use a thief with shadow refuge and having a player laying speed will work better. If you have rangers or necromancers in your party or some sort of targeting AoE, you can target the flame turrets above to take them out before you fight the 2 Flame Legion at the bottom of the ramp. After killing those, you can move forward to meet Gaheron’s pet drake. Dispatching that allows the waypoint to show up.
Onward we go, to meet our final boss, Tribune Burntclaw. He is best to fight ranged as he has an AoE knockback that is nasty, so if he heads towards you, make sure you move back and are not near the lava. From time to time, he “retreats” to the center and becomes invulnerable, where he “reaches” up and causes an AoE attack that pushes in an expanding circle that you can simply dodge out of. Unfortunately if you get knocked back in the fight into the lava, you’ll have to wait for the fight to end to waypoint out and run back for your chest.

Honor of the Waves
The 6th Dungeon on the list is Honor of The Waves(HoW) located in Frostgorge Sound.
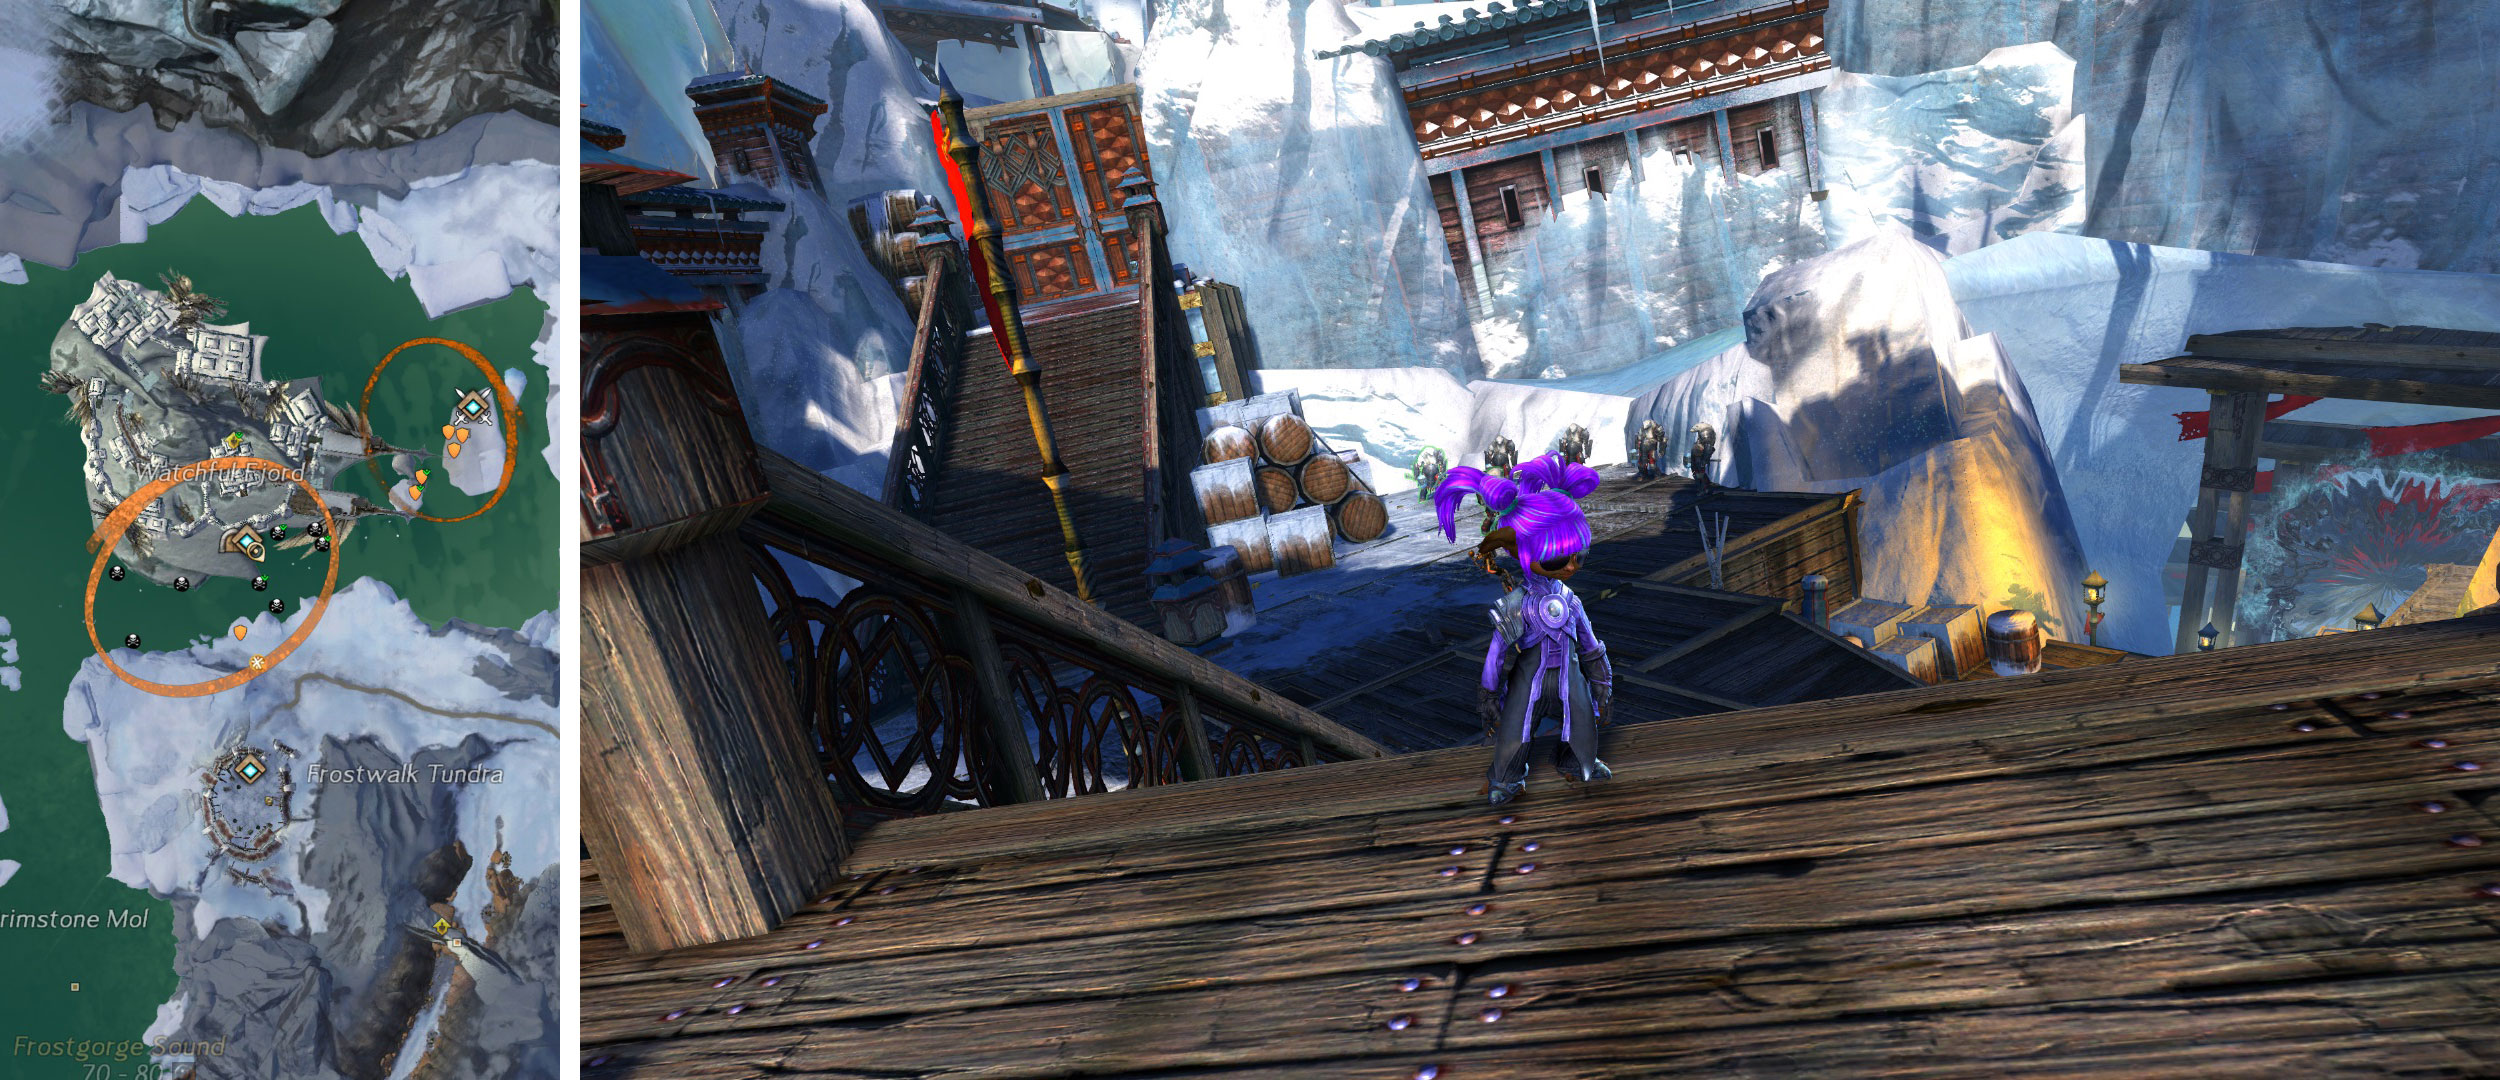
The three paths here are: Butcher, Plunderer and Zealot and all three are started the same way, by talking to Honor’s Claw to choose the path.
The Butcher
The Butcher path is the only path in this Dungeon that does not have any underwater parts. It starts out by going up the stairs by the repair anvil and stacking next to the railing on the right side of the stairway. One person goes up, waves, and ducks down to stack with the others for the fight.
We then walk up the stairs where the next room holds 2 ice turrets and 2 Icebrood Seers that we have to defeat. As the door opens, we “kill” the Dragon Totem, then focus on the rest of the mobs.
Moving quickly up the staircase to our left we go across the wood walkway and turn left to stack next to the brazier, waiting for the Icebrood Wolves. We pull them one at a time, then skip across the wooden bridge to destroy another Dragon Totem.
We proceed back across to the other side and jump down onto the roof of the building to fight the Ice Troll with our backs to the building. That way if he fears us, we won’t fall off. Once he is dead, we jump down and pick up the chest and run into the room to stack against the staircase.
Our next boss is Aldus Strombringer, who once we defeat his followers in front, we skip up the stair past him, ranging him from behind and targeting any of his followers that spawn. When he is dead, we go back down the stairs to the hole in the floor, carefully dropping down, we take out the ballistas and Icebrood Seers.
That accomplished we turn to our next area, getting down the hall of traps to fight the guy in front of the locked door. Defeating him allows us to open the door by pulling the chain. There are 2 Icrebrood that we fight before our lost boss, Gina The Butcher.
In his fight, we try to always take the retaliation turret out at all times while we fight him. He does a whirlwind attack that you can’t fire projectiles at or they reflect back. Successful completion of killing him conquerors that path.
Plunderer
The Plunderer’s path starts on the opposite side as the Butcher. When the door opens, we move to the first bend on the path, waiting for the Icrebrood to come to us to fight. When they are dead, we keep following the path until we reach our next fight.
Torn Fur is the next boss we meet, along with a few Icebrood, we usually just fight him and the mobs on the right. The ones on the left, we just leave alone. Exiting the room, we jump over the chain, skipping the first Icebrood Legendary, we run past the second and up the stairs. We fight the second one from the top of the stairs, so if we get feared, we won’t run off the ship. Theboss will spawn elementals during the fight.
Victorious, we turn and go down the set of stairs further into the ship, until we get to an area of water. Jumping in, it's just a short swim to our next boss fight, Andal and his 2 Quaggan buddies, Oolon and Poroo. In this fight we have someone kite the boss while we pick off the Quaggans one at a time before we focus on Andal.
After the fight, a hole opens up in the ice and we drop down to begin our journey to the last boss. This is strictly underwater the rest of the way, fighting the various Icebrood fish and Icrebrood Sanvir.
Our final boss is Wollam the Plunderer who throws underwater bombs. We fight him in the corridor that he’s in, swimming back and forth under him, low to the ground if need be. If he fixates on you, just swim into the middle and hang a right or left to go back to the area of the fight. Only bad thing about the fight, is a lack of area to swim to the surface, but a good crew can keep each other alive in that fight.
Zealot
Zealot’s path is similar to Path 1 in that it starts in the same doorway by pulling the mob down to our stack spot by the bannister. Going forward into the room, we have the ice turrets and seers to fight before the door opens.
We fight the ones that come out the door, then moving forward, defeat the dragon totem and the mobs in that room. Same as Path 1, we go to the stairs on the left and running across the wood platform fighting the ice wolves. Only instead of a Champion Icebrood Troll, we have a Champion Goliath!
The room after that has a pack of wolves that will form into the wolf form that a norn can take. The boss’s name is Svangandr. We usually range this guy and if we are lucky we can keep him pinned against the door. If he charges to the stairs up to you, we simply jump down and run across to the other side. After his death, the door will open up, be careful there are mobs out there.
After we kill them, we run down the stairs to the underbelly of the ship, meeting more Svanir at the bottom. Be careful going across the floor as the ice spikes that pop up are very painful, putting you in a downstate.
The room on the other side has some mobs that we fight before we meet our next boss. Our next boss is Finubl who uses a hammer, that has a nasty AoEs that launches and chills you. He will cast an ice shard and is invulvernable. Destroying the ice shard will make him susceptible to damage once more. Also, you have to watch out for his adds when you are righting him.
Running down the hallway after that fight, you encounter more Svanir. After those guys, we turn right at the end to the stairs leading into the water. The first few Elite Jellyfish and Quaggans we fight from the top of the stairs.
Slipping into the water, we will fight the few jellyfish on our way to our final fight boss, Sorge the Zealot. He spawns Giant Arctic Jellyfish and Barracudas and there is a spot that you can get out of the water to get your health back. We mostly focus on him, taking care of the jellyfish if they get to be too many.

Crucible of Eternity
Moving on to the 7th Dungeon in the list, Crucible of Eternity (CoE), located in Mount Maelstrom.
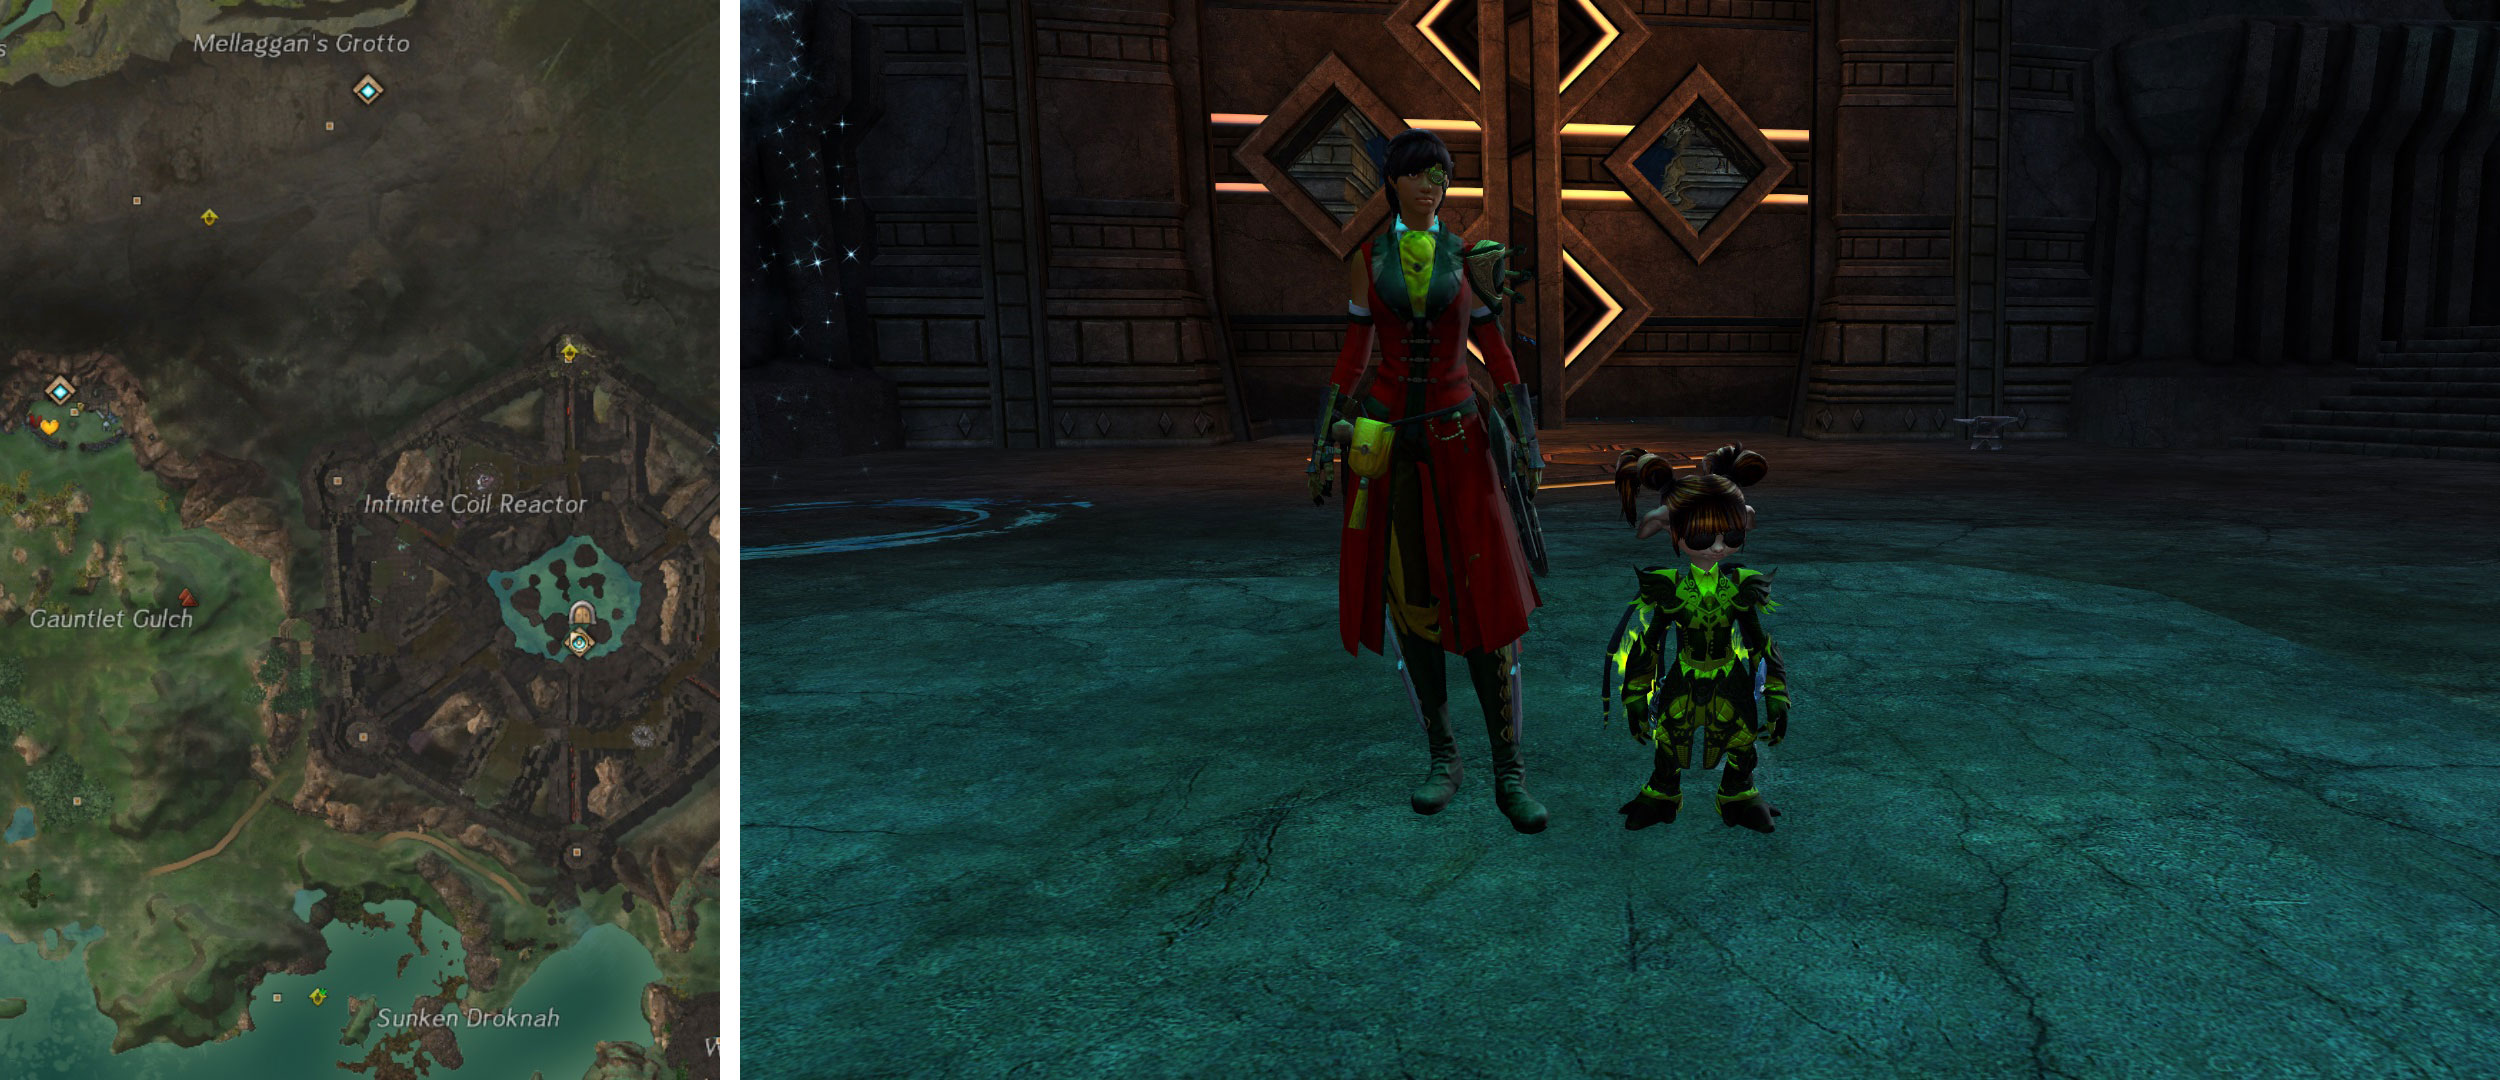
This is another dungeon that can have a contested waypoint and we have to do the event to gain access to the dungeon. If it’s not contested, the Pact Forces hold it, otherwise we have to do the Meta, Toil for the Coil, successfully to gain access.
The three explorable paths in there are the Submarine, Teleporter and Front Door. Agent Spire features in all three paths as she kicks it off and she is the NPC we talk to once we reach the part to choose our path. She walks as slow as Zojja talks! Of course, we keep encountering Subject Alpha three times in each of the paths, whom we stack on for all the fights. Each path also features some lovely laser beams we have to make it through and have each person on a console to disable them. As well, in each path there is a golem, the Mark T-B34RC 3 we have to best.
Submarine
In the Submarine path, first we deal with Subject Alpha, then the lasers (mentioned earlier), the Golem, followed by the Security room. In this room we have to disable the security protocols 5 times, dealing with little bomb golems. There are Elites that come alive each time we shut down an alarm. Subject Alpha pops up for round 2 and afterwards we move on to Bjarl the Rampager who uses a buff called the Scales of Jormag. Our final boss is Subject Alpha for the third and final time. We escape the path after killing him by way of the Submarine.
Teleporter
Path 2 is escaping via the Experimental Teleporter at the end. It starts off with Agent Spire as we move along to play with Subject Alpha for round one. As in Path one, we disable the lasers and then fight the golem. Instead of having a security console, Agent Sprie builds a cannon that we protect by stopping the bomb golems and killing Elite golems.
Once the door breaches, we quickly run out of the room to the left to hide in the corner. We do this to avoid fighting the Champion Abomination. His hammer throws are not fun and it takes awhile to kill him. Once he goes into the room, we run up the stairs past the mobs and fight them at the top.
Once demolished, we move into the next room to meet Subject Apha for round 2. The next room we will meet various Nightmare Husks and Nightmare Hounds, surrounded by Volatile Blossoms. These guys are pretty easy to beat.
The boss that comes up next is the Experimental Husk that we take the Subversion rifles to “drag” the bomb golems onto him so they explode, damaging him, meanwhile trying to keep the brambles down so the path is clear to him.
We then have the third and final round of Subject Alpha to beat, allowing us to escape by the Experimental Teleporter.
Front Door
Last but not least is the Front Door Path. As in Path 1 and 2, we encounter Subject Alpha for the first time, moving onto the lasers and Golem, then breaching the door like in Path 2. The same as in Path 2, once the door is breached, we can hide to escape the Champion Abomination and run up the stairs to fight the mobs at the top, moving onto round 2 of Subject Alpha.
We go through various rooms filled with Destroyers (with nasty AoEs) finally encountering the Champion Destroyer Crab. The next boss after we get through the last tunnel into the room is the Experimental Subject. There are three lasers that we use to fire simultaneously onto the shield around this boss.
Successfully lowering the shield, we can fire long range weapons at him, or jump down the red grid platforms to melee him. If you do melee him, you must make sure to get off the platform before the shield comes up again. Defeating him, we move on to meet Subject Alpha for the third and final time. Once he is killed, we simply use the Front Door to escape the Dungeon.

Arah
Arah will be featured in the next issue as it is a very unique dungeon and I would like to devote special attention to it.
Special Thanks
Want to give special thanks to Old Goat (daoteci) and Namrie (Arnout) for helping me get my Dungeon Master, especially Old Goat for being patient in teaching me and encouraging me to lead my own Dungeon Event. End shots in CoF - Ferrah, SE - Ferggs and HoW - Butcher goes to Old Goat. As well, credits to those who are featured in my photos - Gillibod, Old Goat, Pgymi, Rhikki (HoW Butcher, SE Ferggs, AC Tzarks, CoF Ferrah), dreadroberts, Douchette aka Avocado, Spunkywolf (CoE Front Door), Tpeyra, Sly Berditzmen aka Twig (Twilight Arbor), Lynnanine, Tiecyrian, Kelda, Rhykki (CM Asuran)
About the Author
Winterlight
Editor
Lives happily in London with my cat and a view to die for. Loves playing Guild Wars 1 and Guild Wars 2(e I teach/lead Dungeons in GW2). I got into gaming when I was introduced to Guild Wars 2 over 6 years ago, before then I never knew of many games other then LOTR.
"Dogs come when they're called; cats take a message and get back to you later." Mary Bly
About Guild Wars 2
Guild Wars 2 is an online role-playing game with fast-paced action combat, a rich and detailed universe of stories, awe-inspiring landscapes to explore, two challenging player vs. player modes—and no subscription fees!