Rainbow Six Siege Outback map - tips and tricks, camera and objective locations
It's quiet outback.


Roaming defenders have largely gone unpunished in Rainbow Six Siege, but all that's about to change. With the introduction of Gridlock in Year 4 Season 1, the attacking team can now leave a little present for any would-be roamers in the form of Trak Stingers. Gridlock does have more to offer however, so we'll be going over all the weapons, stats, and gear she has on her.
Rainbow Six Siege: Outback map guide
If you're coming back to Rainbow Six Siege after some time off, you may wish to refresh your knowledge on how to play effectively. Head to our Rainbow Six Siege guide hub for more on that, or alternatively you can check out the other maps we have tips on for in our Rainbow Six: Siege Villa, Rainbow Six: Siege Hereford Base, and Rainbow Six: Siege Fortress guides respectively.
Outback overview
Outback isn't really one building but a collection of three different ones blended into each other. Given that it's only two stories big, this map is a slight departure from the previous ones just on the size alone. It's considered a medium sized map that is full of windy corners, shortcuts for the attacking team, and plenty of places to defend from for the defending team.

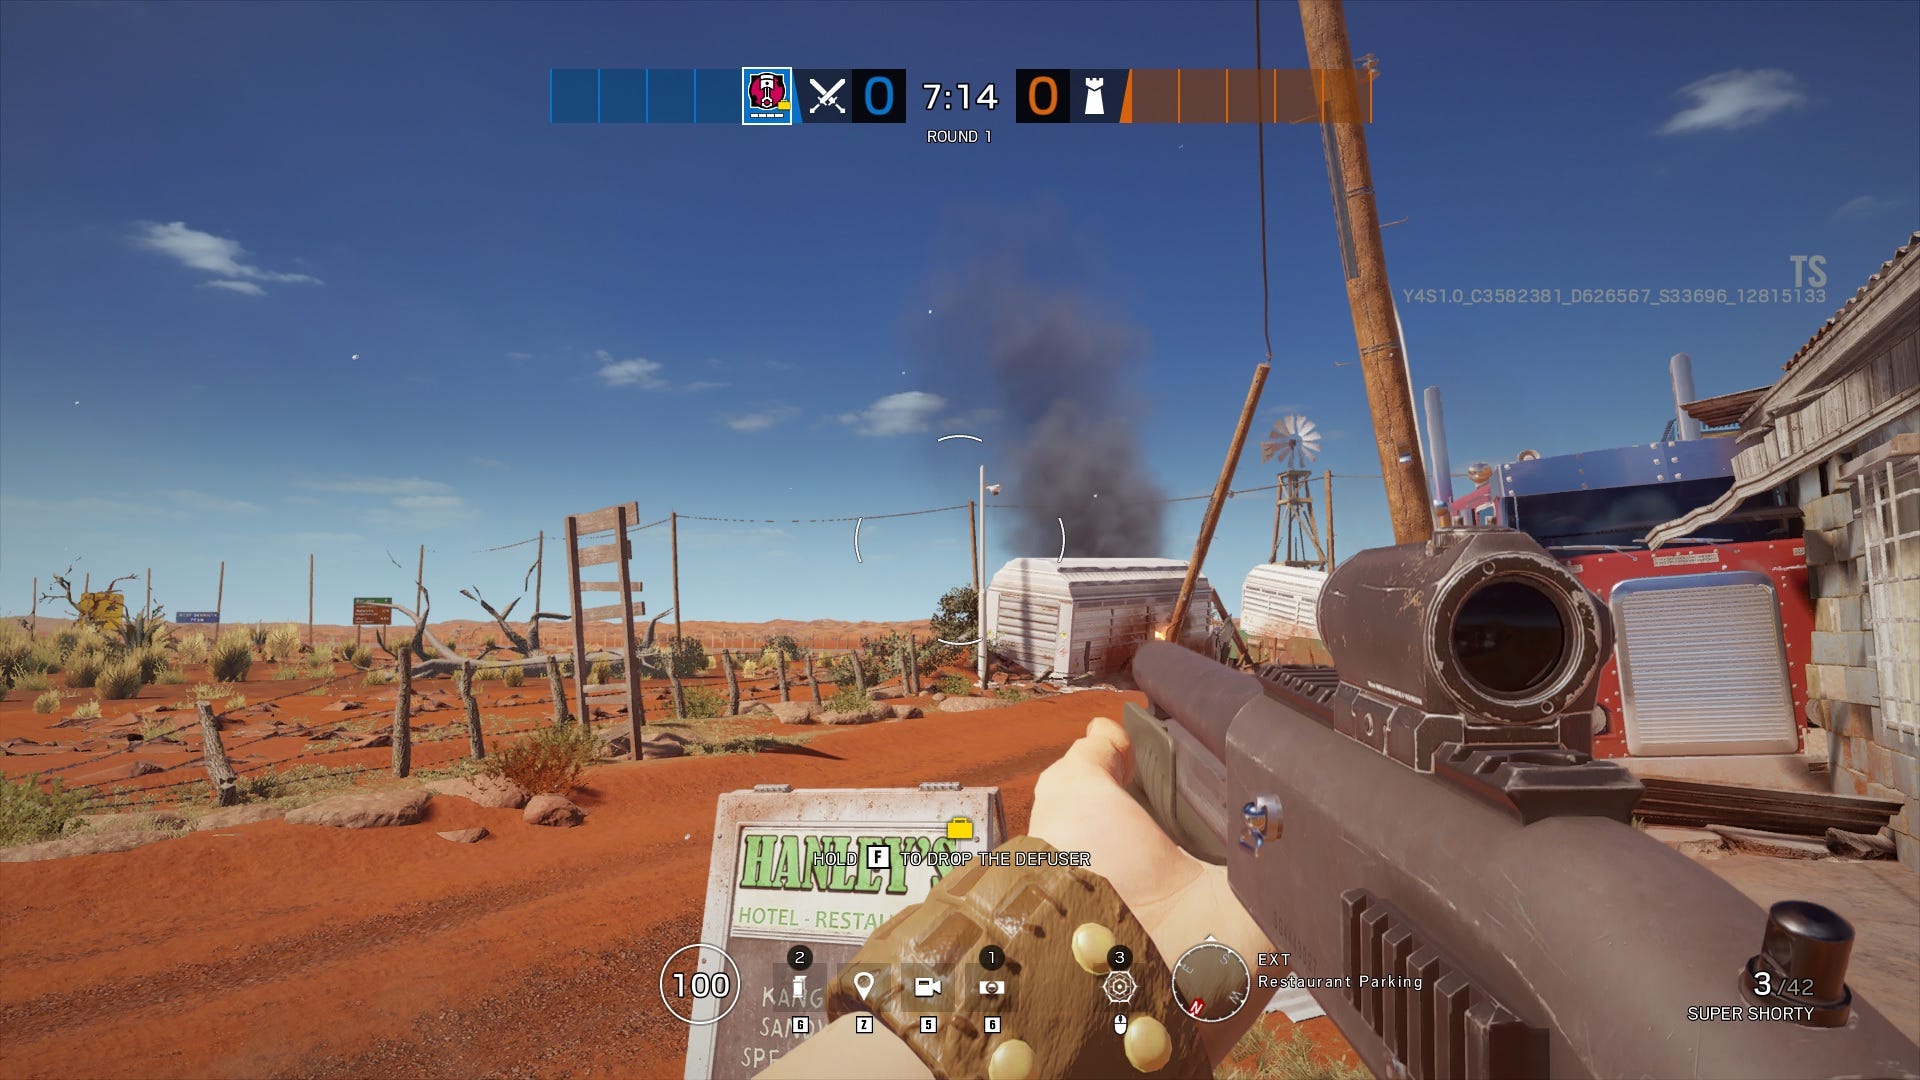
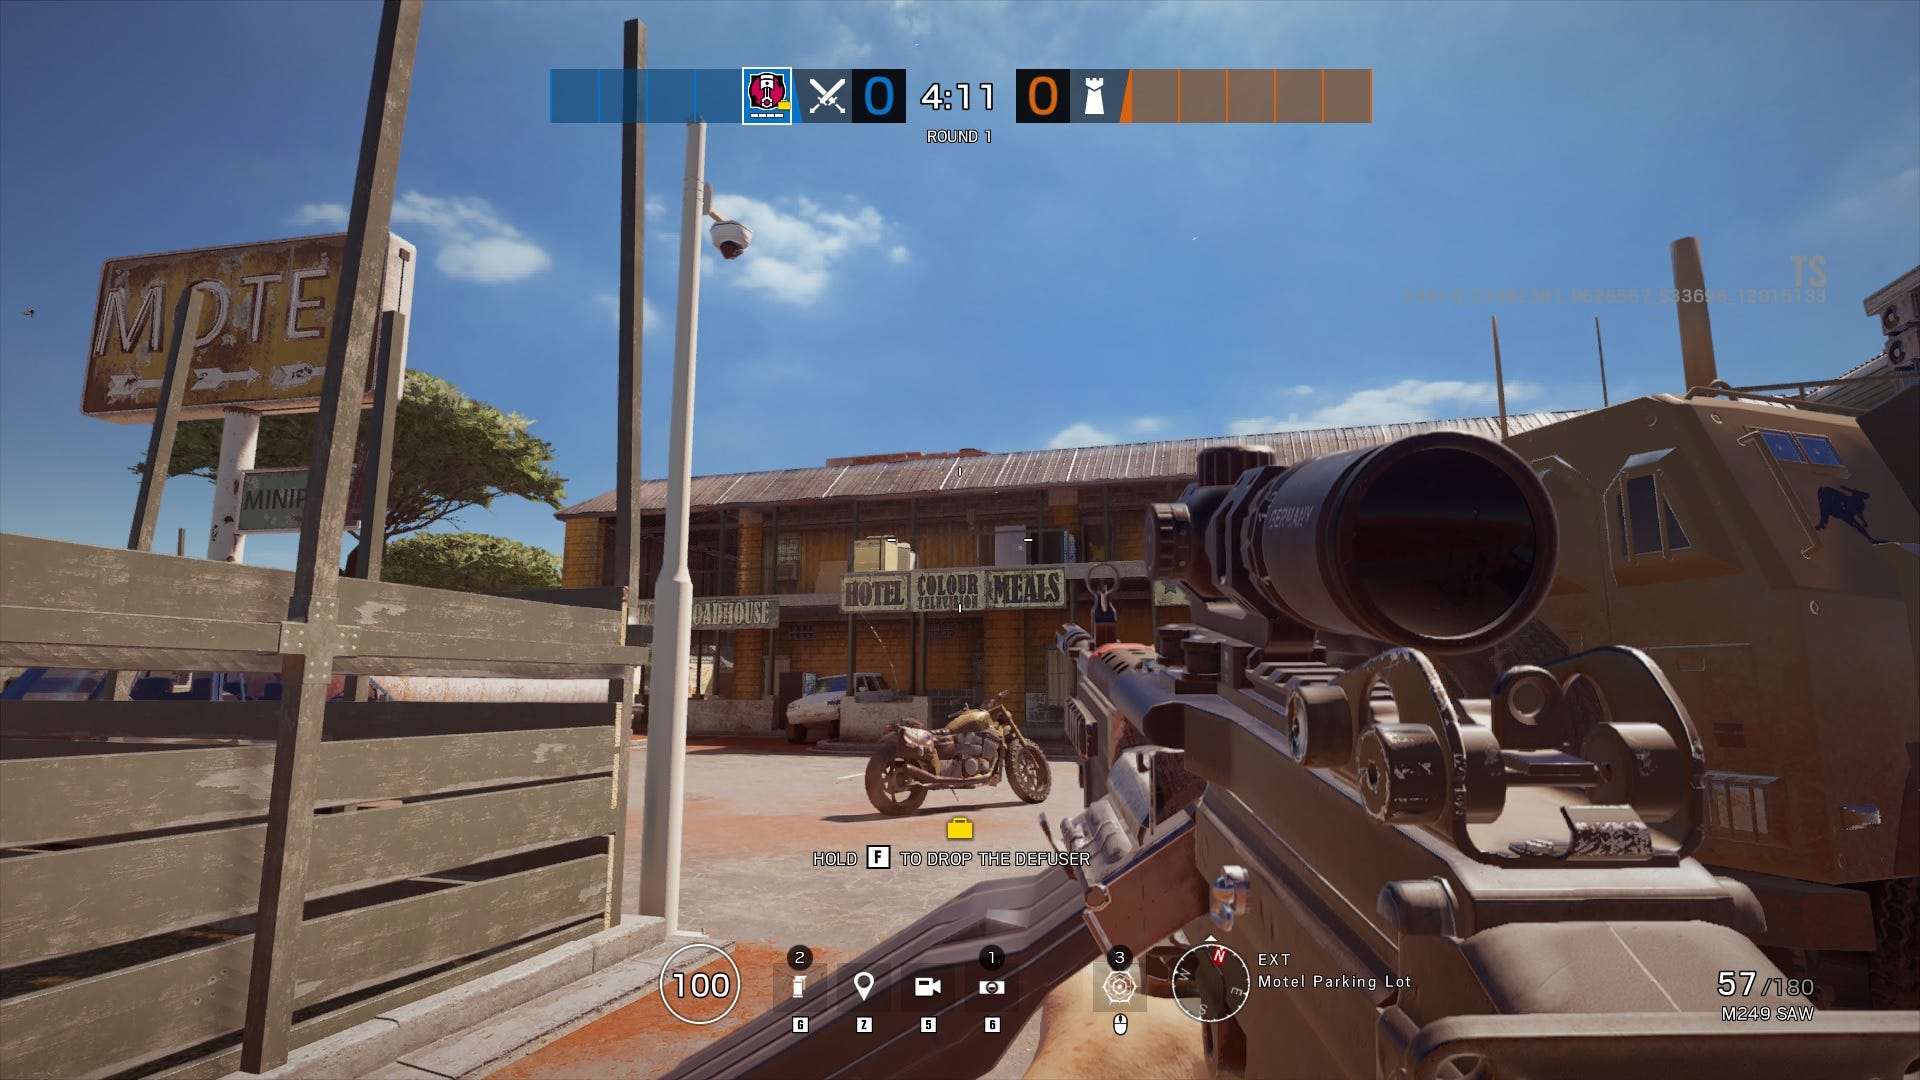
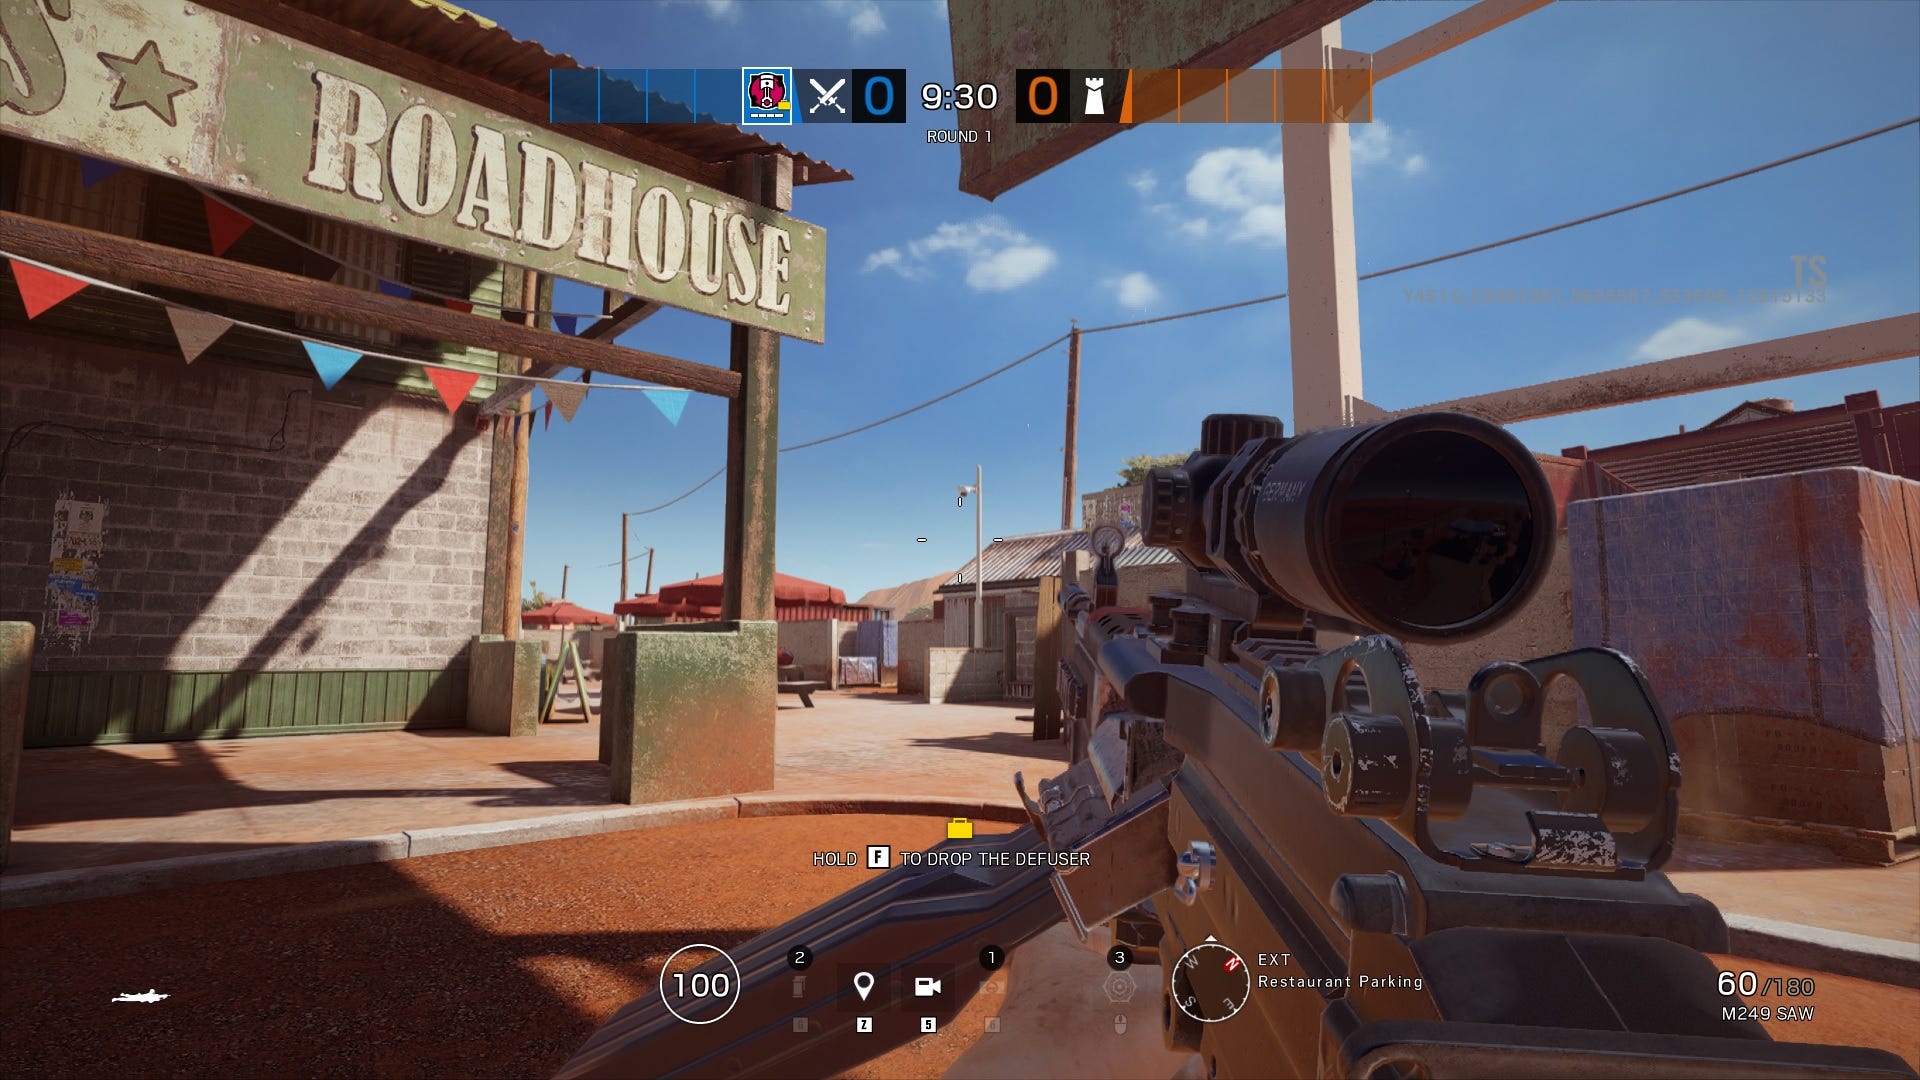
Consisting of the garage, motel, and restaurant, there's plenty of nooks and crannies across this two story location. It's also home to some rather neat features, such as the giant shark that overlooks the restaurant, teeth bared as if to strike, as well as a kangaroo made up entirely of scrap.You'd think the area is completely isolated, but this is where you'd be wrong. There's a couple of motorcycles and even a jeep, that run past a Trials Fusion sign. Evidently they didn't get the memo about Trials Rising. You can see this one for yourself if you're on the attacking team by going to the External Fuel Pumps area and looking out towards the road.
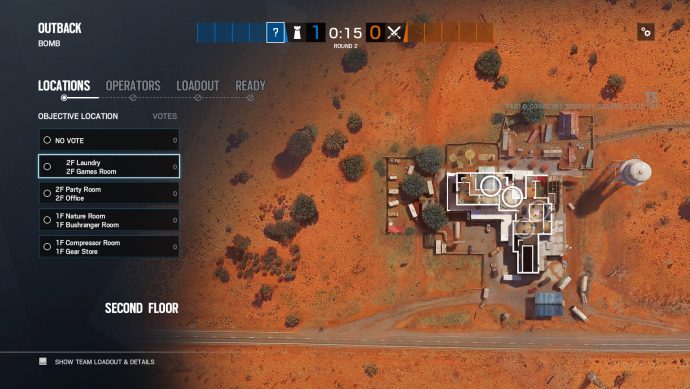
Defence spawn points in Rainbow Six Siege’s Outback
In each of the three game types, there are a number of spots where the objective can spawn. Below are the rooms to keep in mind for both those defending and attacking the map’s objective. They seem relatively evenly spread in quantity, despite the rather lop-sided sizes of the two floors, with each room entry having game types that could have an objective spawn there.
First Floor
- Nature Room - Bomb & Hostage
- Bushranger Room - Bomb
- Compressor Room - Bomb
- Gear Store - Bomb
- Garage - Secure Area
- Kitchen - Secure Area
- Convenience Store - Hostage
Second Floor
- Laundry - Bomb & Hostage
- Games Room - Bomb
- Party Room - Bomb
- Office - Bomb, Hostage & Secure Area
- Dorms - Secure Area
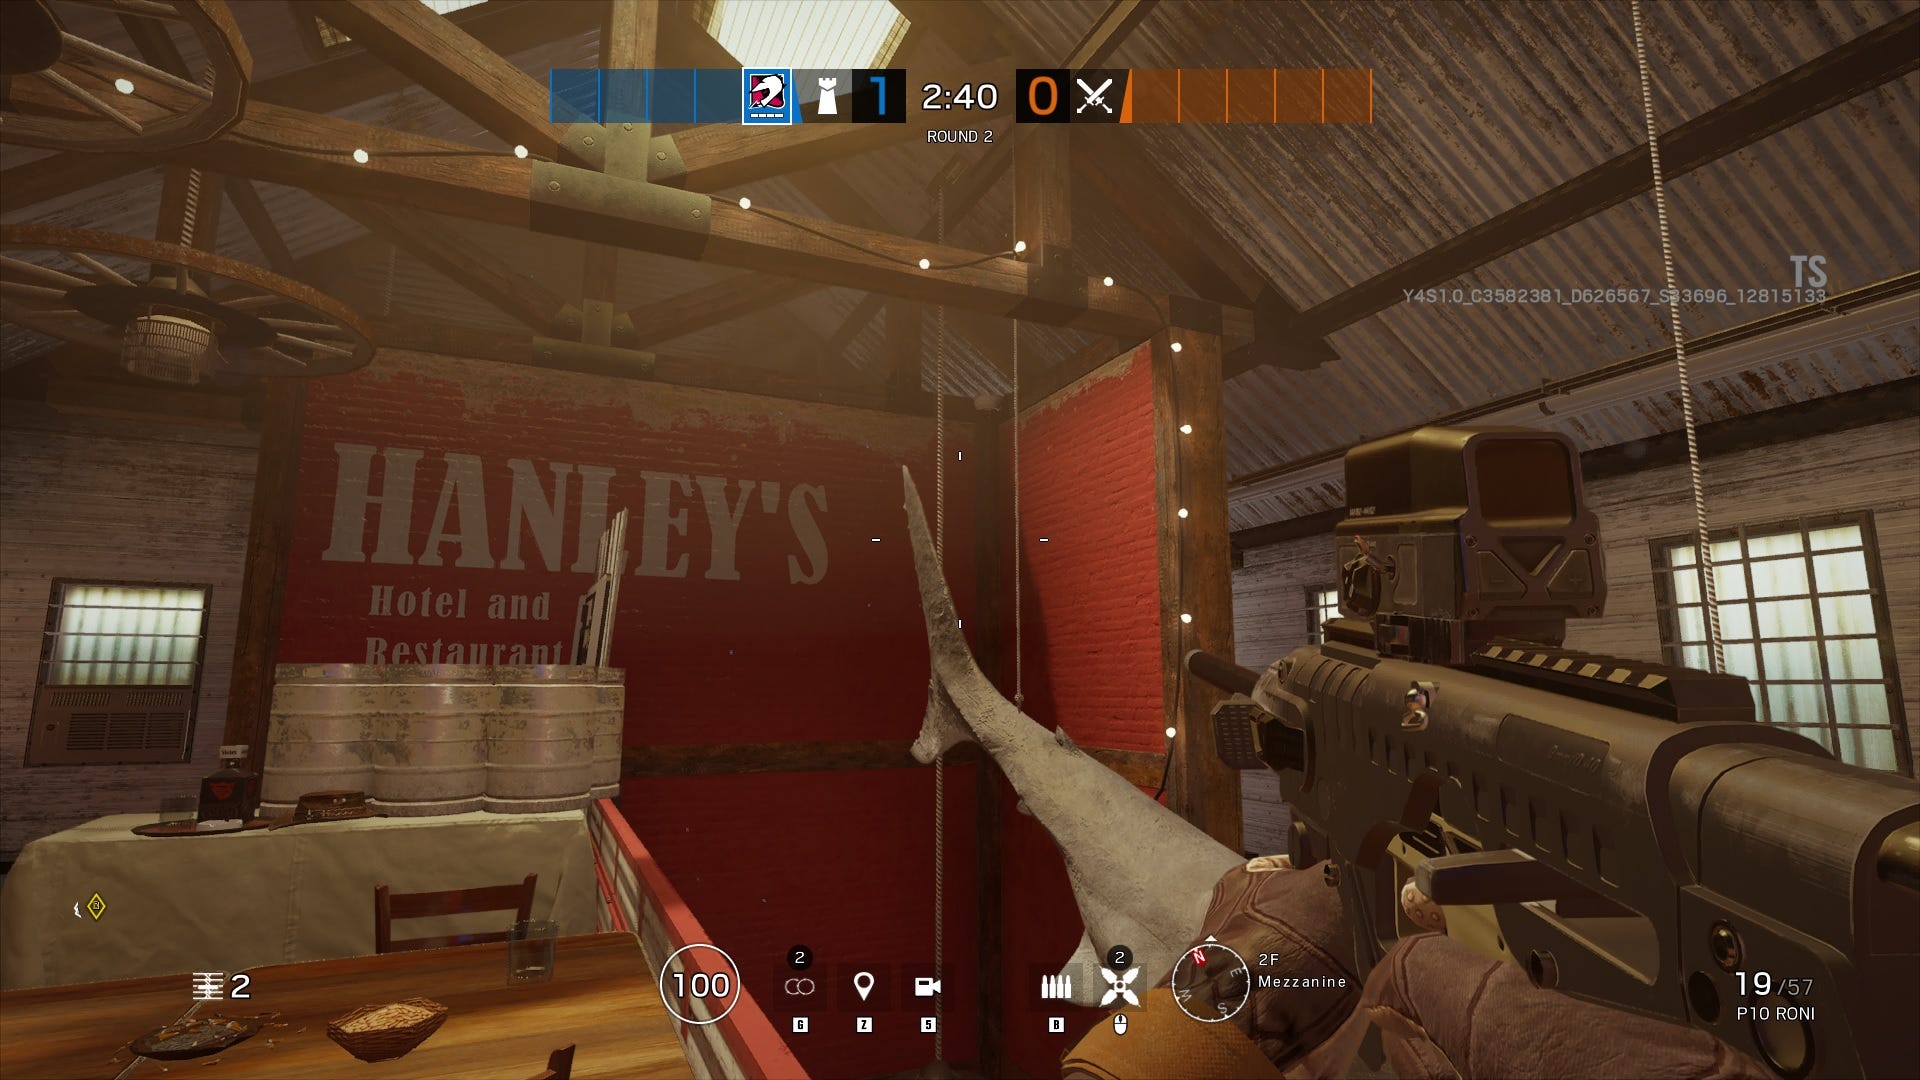
If you are attacking the defenders, the fact that the 2nd floor office area is home to at least one objective location in each category makes it a high-priority search target towards the beginning of the game. It's also accessible from a surprising number of locations, making defending the area deeply stressful. At least it is protected by the camera in the garage, so you can see anyone coming from the southern walls, as well as the Mezzanine camera to the northern end, but savvy players will be shooting both of those cameras out to get the jump on you. There's also a lot of access points close to the Mechanical Bull, including one that bypasses the Mezzanine camera.
There's also a distinct lack of security cameras on the first floor, with only one dedicated camera and two that have very little coverage. This means that when defending the first floor, you're going to need to rely on your teammates a lot more than ever. Just be wary of the hatches above you in any of the areas on the first floor as it is easy to get ambushed.
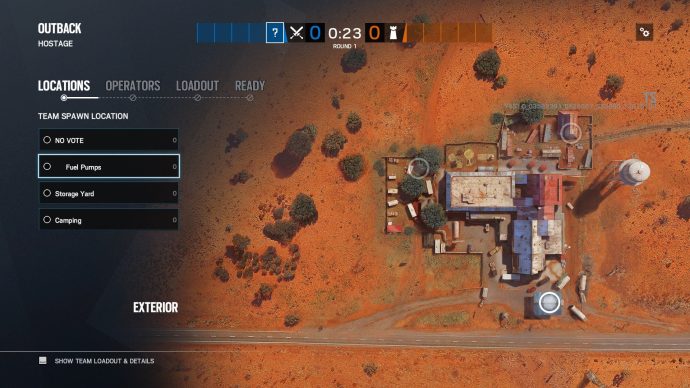
Attacker spawn points in Rainbow Six Siege’s Outback
Attackers have three spawn points. If you are deployed in Storage Yard, then you'll have a camera directly in front of you on the other side of the shipping containers. There's a staircase which will lead you to a divide between the garage and the piano room cameras, which can be great for confusing the opponent. Fuel Pumps has a couple of cameras, one down the path towards the Fuel Pumps, and one just before the Motel on the left, but are otherwise decent places to approach from. Camping has the same camera on the left to worry about as the Storage Yard starting location, meaning they can also access the building using the same entrance.
Fortress’s cameras
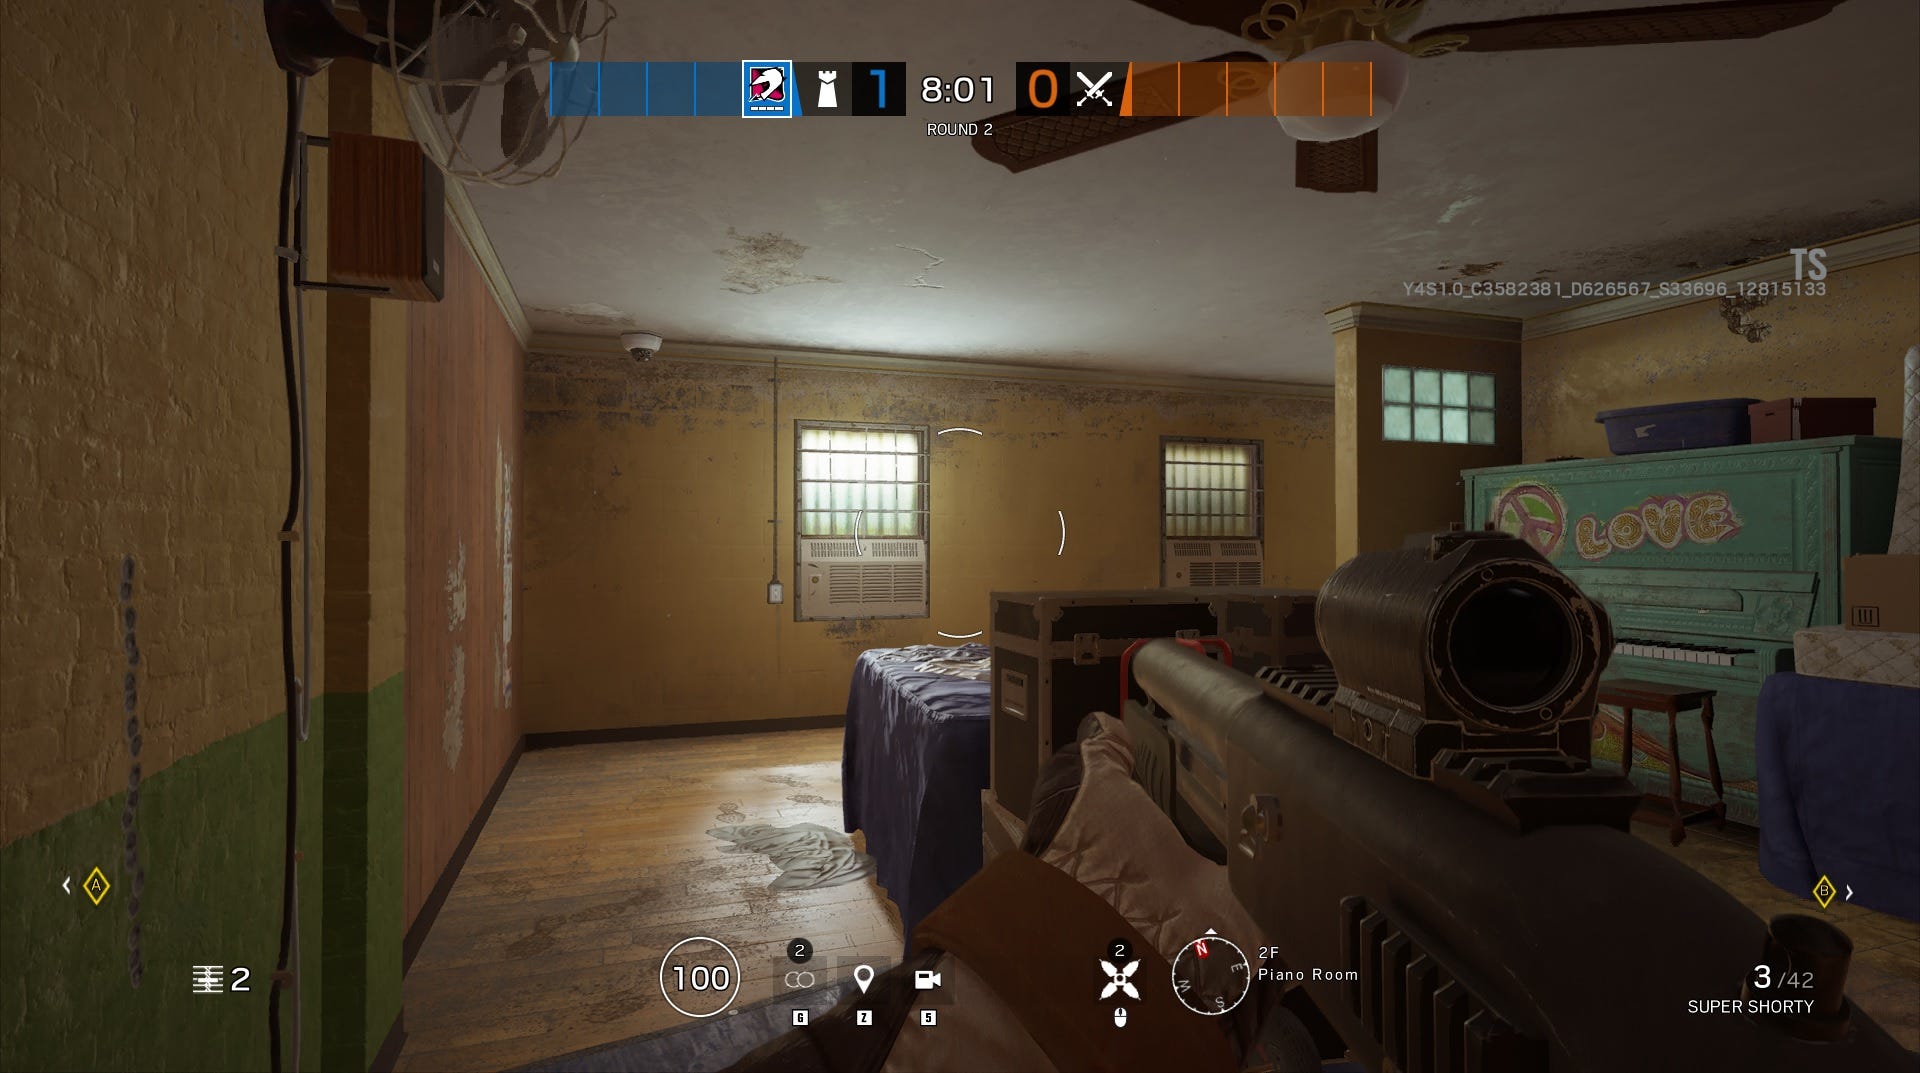
In addition to the three cameras outside, there are four cameras on the inside. There is an optimal route from the Storage Yard start location. Head up the stairs and you'll see two entrances. The one on the left leads into the Mezzanine, just shy of the camera, while the one on the right leads down a corridor to the piano room. From the Piano room, follow the corridor until you get to the stairs. Instead of going down them, turn left into room B-1, which is the dorms. Provided the objective isn't there, you can blow a hole in the hatch and drop down to Repile Hallway, just outside of the door leading back upstairs. Sneak around and shoot out the camera and you'll have crippled their visibility.
If you're feeling particularly cheeky, after shooting out the Mezzanine camera, head towards the Hotel sign, smash out the barricade by the bull, head downstairs and turn around the corner to find another barricade. Climb through and turn right, peeking around the corner for a good shot on that last camera.
Tips and tricks for Rainbow Six Siege’s Outback map
Attackers have lots of angles to enter the complex from. The inclusion of Mozzie for the defenders does make intel gathering a little trickier as he can take over drones, but if they spot where the objectives are, you're in a big amount of trouble. Gridlock is particularly good if the game mode is Hostage, as she can be the one to whisk the hostage away while wielding a shotgun and deploying Trak Stingers behind her. Given the two tiered nature of the map, there's not as much room to hide, so IQ and Jackal can have a slightly better time than normal. After that though, it's the usual suspects that are just universally good: Ash in particular will have a field day with blowing up reinforced walls as the enemies will be reliant on their use.
Defenders on the other hand do have a few options. Mozzie is great here as taking over drones in the beginning of the game helps mitigate the disadvantage the map gives defenders, while Mira and Alibi can take advantage of the windy corridors to set up some traps of their own. But by far the most useful operators the defenders have are Valkyrie, Maestro, and with a big caveat - Caveria. Valkyrie and Maestro's cameras make gathering intel on the enemy location a much more manageable task. Caveira on the other hand has a lot of ways to sneak up on opponents in this map. Just don't play as her for the time being, as everyone is probably trying out Gridlock, who is even better for this map thanks to her anti-roaming abilities.
More tips will be coming your way as players share more about the new map. But in the meantime, why not check out our Rainbow Six: Siege operators guide for the lowdown on all of the operators available for the game.