

In this edition of Flameseeker Chronicles, I’ll finish off my summary and appraisal of the latest story drop, including my high and low points as I wrap up. Just as with the first part, this article is best read after completion of the episode if you’re worried about spoilers, though tags will be used where needed to avoid the biggest spoilers.
 Where I left off
Just in case you missed part one and don’t have time to catch up right now, I’ll fill you in on the happenings up to this point in my narrative. The episode opened with a little bit of James Bond shenanigans: The party used some corny subterfuge to infiltrate the Inquest supply line, taking over a golem and pretending that Braham and Rox are captured test subjects that need transporting. After going through cleansing and other hilarious antics along the way, the group finally makes it to Rata Primus, where they are trying to learn more about the actions of Taimi’s old college friend and portal specialist Blish in order to track Joko, find out what he’s up to, and ultimately put an end to the invasions.
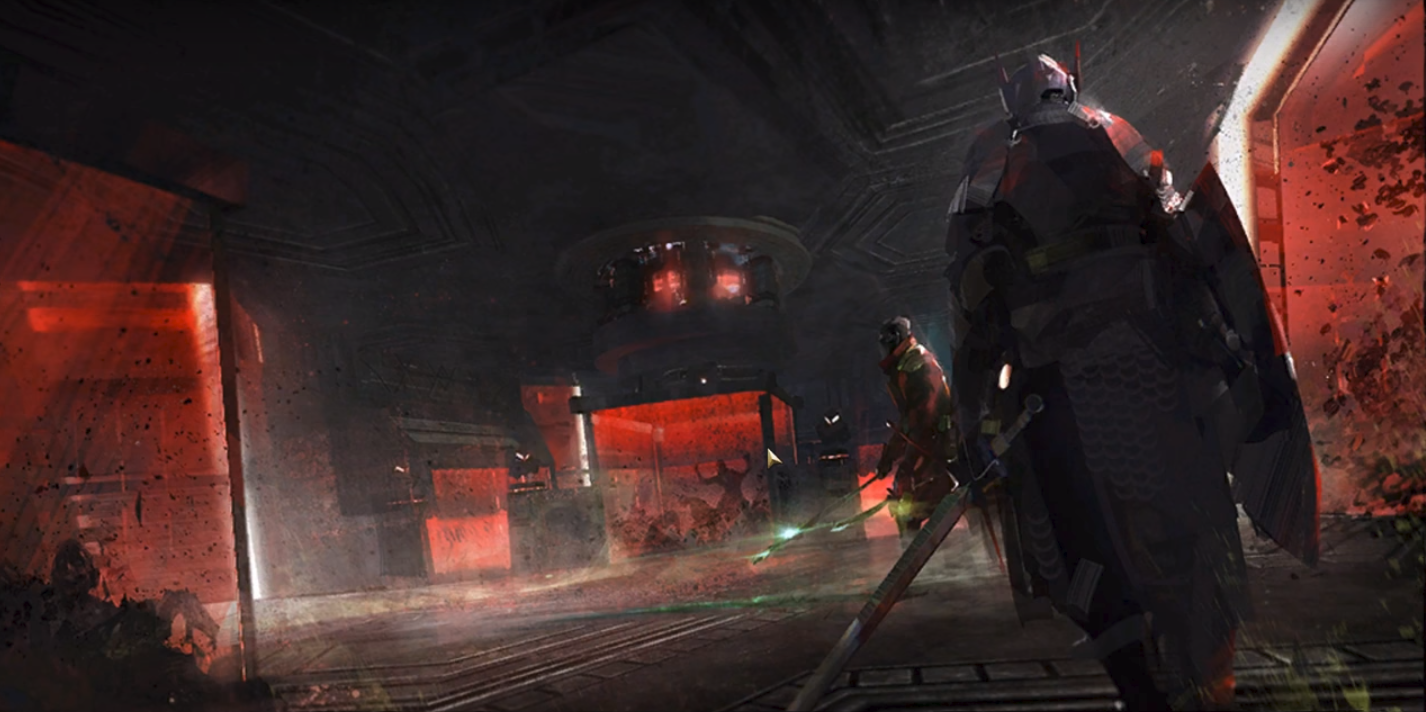
In Rata Primus, the party is met with the horrific reality of the Inquest’s latest research: Many live test subjects are being held, including members of a strange Charr tribe. The test subjects seemed to be exposed to diseases, and the Charr specimens were particularly good for the Inquest due to the rapid disease progression observed in them. One unaffected Charr is battling to save themselves when the party stumbles upon the scene and aids the mysterious stranger. The encounter triggers some epic-level decontamination protocols and, freeing test subjects along the way, the commander and company all jump to freedom from the rooftop of the now burning lab building under the swift direction of their new Charr friend.
Once everyone recovers from the fall, the party regroups in the Olmakhan village, where we learn that the stranger is called Boticca and that the tribe are a nature-inspired, relatively peaceful tribe who broke off from the Flame Legion. The elders are initially wary of the outsiders but are delighted to see Boticca alive and well, so they do listen to the commander as the Inquest and the Awakened threat is explained to them and decide to mull over the situation privately to see if they should stay and fight or abandon their home for somewhere safer. Rox is fascinated by the Olmakhan and is touched when Boticca doesn’t judge her for being a gladium. The commander stops Charr cubs running into danger, just in time for the Inquest’s quarantine measures to attack the village. Sadly, an elder is killed in the hard-won battle, but this actually strengthens the position of the elders on how to deal with the threat on their doorstep and they decide to join forces with the commander.
 The Road to Rata Primus
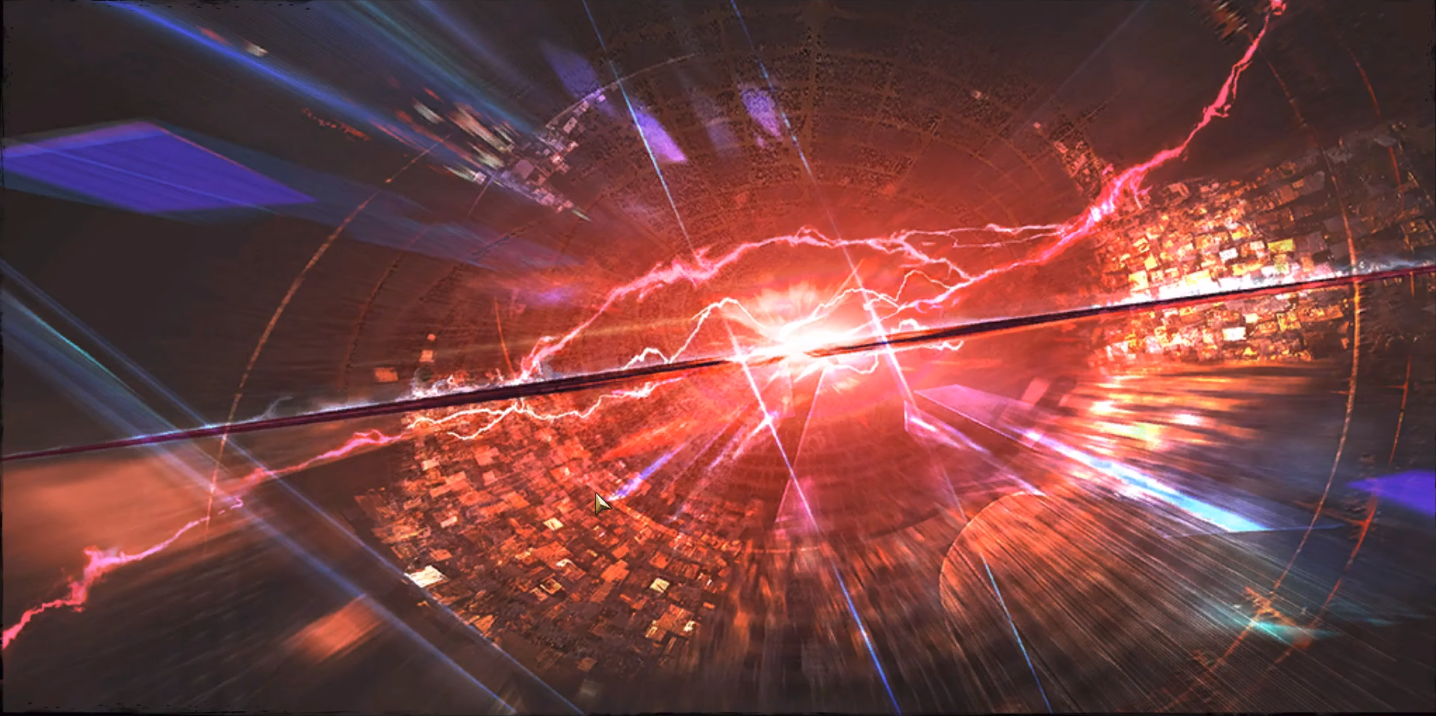
The elders emplored the commander to stand with them as they bring the fight to Rata Primus, and this is exactly what the party endeavours to do. The commander thinks that getting Aurene to help in the battle might win the day and Braham comments that he saw her on a nearby cliff, so we seek her out. The commander mentions that more intel on the main Rata Primus complex would be critical to our success since we have only seen one small outbuilding of the huge laboratory complex, and Aurene flies off and grants the commander her sight, which seems to be a new trick in her toolset that should prove to be fairly handy in future. Taimi chimes in to say that she’d rather be with us than biting her nails at home, so she decides to reach out to Sayida and ask for passage on her new airship (bought with the money she claimed for turning us in to Joko’s henchmen) since the commander thinks it might well be put to use as a way to access the giant floating cube.
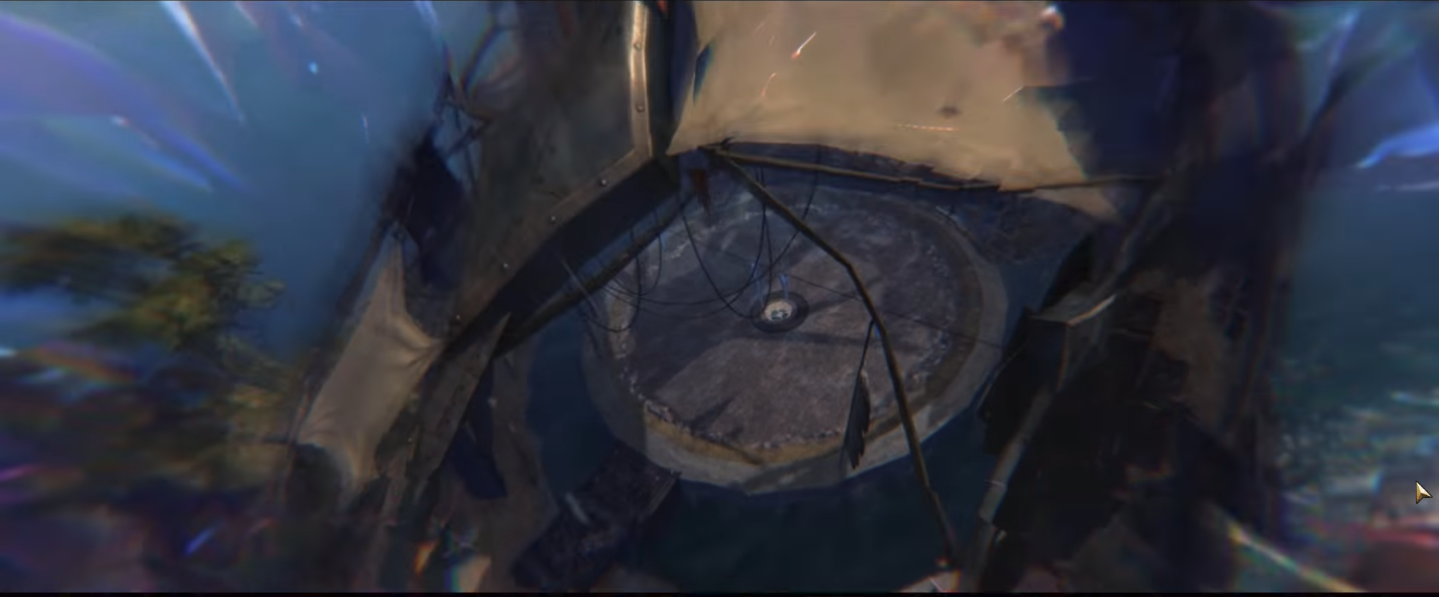
Attacking the main lab will not be easy as Aurene spied an impressive shield over the main complex and a heavy Awakened presence to boot, so the commander makes a well-rounded plan with her allies that will hopefully cut off their communications tower, disable its shield, and then hold all gained territory to prevent its repair by employing the Olmakhan forces. Even Braham goes along with the plan without much resistance, which seems to reinforce the turning point in his grief that I mentioned in part one. To attract the least attention, the commander enters the communication lab alone, where a series of puzzles and hilarious PA interludes make for a great bit of content. The communication-based research is rather frightening: It seems the Inquest wish to utilise the hive-mind abilities of Kralkatorrik’s minions to improve its internal communication, which Taimi muses over.
When the commander reaches the control panel, Taimi asks to check on the communications panel for the full version of Gorrik’s distress call. It transpires that Taimi’s friends are both trapped in the main complex and requested aid, and she asks the commander to do what she can to rescue them, insisting that they are good people. Taimi then successfully connects the commander to Sayida, who directs us to the locations of the shield generators. The process is fairly fun, and the same intelligent quirk was clearly put into the design of these lab locations as the communications and transport hubs. The commander must activate some very complex door controls to open access to each lab and then has to fight through to the generator controls. Once all three are turned off, Sayida makes her approach and the commander meets her at the Olmakhan village to board the airship for the charge on Rata Primus.
 The Charge
The commander and company meet up with Taimi on the airship, who again reminds us to save Gorrik and Blish if we can. Just as Taimi mentions that the Inquest records are the best way to find out the current status of how the Inquest and Awakened are operating, the airship is attacked by some proximity turrets that the airship simply isn’t able to avoid due to its speed limitations. The Olmakhan use their nature magic to summon a furious lightning storm to take out the turrets, though Sly isn’t sure how she can steer in those conditions. We do manage to make it in one piece, however, and Taimi tells us that every lab has emergency access codes that work even in times of total lockdown, so the party sets about finding them while she stays on the airship with Sly. They notice, though, that there isn’t a sign of any Asura and that all the active golems are acting rather oddly. As we explore further, it is rather hard to tell the Inquest apart from the Awakened and some rather chaotic encounters ensue. Malfunctioning golems, awakened abominations, and secret passcodes — this sequence has it all in spades!
The party learns that Gorrik managed to shut down the teleporters in an attempt to prevent the Awakened forces’ movements, which impresses both Taimi and Braham. Rox meanwhile is digging in with the Olmakhan forces and is equally impressed with their fighting ability: I feel an allegiance change happening here! Eventually, the commander gets to speak to Gorrik briefly by telecommunicator and he says shutting down the gate hub is only step one, referencing some unknown larger threat that Joko is trying to get his hands on that is unfortunately lost to static. The party must fight their way lower into the complex as that is where Gorrik and Blish are trapped, so they use the Inquest security measures to help get past the Awakened that are crawling around the lab and ultimately smash up the inbound gate controllers. This means Rox is under pressure to clear our escape route for us, but she seems to relish working with the Olmakhan and leading them in battle.
After more random encounters than I can count, the commander eventually enters the lab in which Gorrik and Blish are holed up in. We get a bit of a shock when a small golem declares that it is Blish, and the commander decides to hide this small detail from Taimi until she can see her friend for herself. Just as we find the pair, the security system for the connected containment vault alerts Gorrik to an intrusion that sends him wailing in despair: A sample of the deadly scarab plague that wiped out Elona that was uncovered in Fahranur by the Inquest is stored in there and he knows Joko is after it. The lab sets itself to self-destruct in an attempt to stop the breach (the Inquest do have a penchant for the dramatic!) and Rox’s Olmakhan troops are forced to fall back. The commander searches for those who stole the plague in the vault to no avail and sets course for the gate hub, hoping to head them off there.
 Joko is at the gate as expected alongside Mordant Crescent Commander Lonai, who heads us off and gives Joko time to make off with the plague and damage the gate as he leaves. After a brief tangle with Lonai, we get sucked into the broken portal, ending up in increasingly remote locations as the battle recommences: Divinity’s Reach, Mount Maelstrom, and eventually frozen tundra roll out each time Blish gets a strong enough signal to attempt to move us back to safety. Lonai asks that, if we vanquish her, that her remains be left where she cannot be reawakened by Joko, and she gets her wish when she eventually falls to the commander. The solar core mechanic here is interesting, but I’ll let you uncover its use if you play through the episode.
Eventually, Braham and the commander are left alone in an unknown location with a dying Lonai that looks somewhat like the Mists to me. Hearing nothing on the communicator, the commander and Braham assume that they are stranded and the decontamination timer beat the geniuses trying to save them back in Rata Primus. They begin to discuss the letter Braham sent to Taimi when suddenly the communicator springs to life and Gorrik opens a portal onto the airship for the pair. Taimi is surprisingly delighted to see Blish and Gorrik despite the new golemy look and calls him beautiful, a brilliant mind that is no longer trapped by life’s frailties (tear!). Blish says he has saved substantial amounts of their scarab and Kralkatorrik research data in his storage, and Taimi asks them both to work with her since their labs are now in ruins. Now the main threat that remains is Joko releasing that plague on Tyria and wiping everyone out!
What I hated
I honestly didn’t dislike anything in this story chunk: If anything is a point of criticism, it’s that is might be just a little too intense. I found the combat lengthy and the puzzles, although engaging, were plentiful, and while one or the other extension technique would have been brilliant, both layered so heavily created an almost overwhelming amount of busywork that was at points very solid without much story interjections to keep things moving. I think more dialogue is the key here rather than muting the action, but this is obviously my personal preference and I realise many people have been crying out for an all-action episode like this one.
 What I rated
I have to, yet again, add “everything to do with Taimi” to my rate list. All of her tiny lines make you think: her references to “working on personal projects” and tinkering not only give you a glimpse into her mood, but also keep the secondary draconic threats in the back of the players’ mind despite the current story arc being centred on Joko and Kralkatorrik. This is such a clever narrative tool that helps the player manage a story with so many arcs slipping in and out of the fore, so it definitely deserves a mention.
Taimi’s friends are turning to the Inquest and the effect on her pulls the heartstrings: I adore how much she cares and how joining the Inquest isn’t enough to make her disbelieve in their core goodness. I do hope we see more of her relationship with Blish as it continues, and I loved the little nod she made to how his becoming a golem allowed him to transcend “life’s frailties”, especially since she used Scruffy in much the same way to limit the impact of her condition on her work.
Braham talking to the little Charr cubs was such a touching little inclusion, and I adored how much Braham softened to the commander again through these interactions. His trust is important in terms of the ongoing story development and also is something the fans have been waiting to see happen, so it was totally gratifying to see him start to process that grief and anger he’s been holding onto. It also might free Rox to explore the Olmakhan ways, which I would personally love to see!
Finally, the number of puzzles included in this episode delighted me: although tiresome for some players, this sort of gameplay is right up my street! I love when quirky mechanics get thrown into the story content because it makes it feel distinct from my open world pursuits, and the puzzles definitely elevated this episode. I might have found it all a little overpowering due to the equally involved combat, but the overall formula was really engaging.
Over to you!
What did you think of this episode? I’m deeply impressed with the fun factor this time, and I really enjoyed the marketing trailer for this drop too. I hope things continue in the same vein in the next story drop, which I predict will be with us shortly if the usual cadence is met as expected. Let me know how you found it in the comments below.
 Tina Lauro has been playing Guild Wars 2 since it launched and now pens the long-running Flameseeker Chronicles column, which runs every other Wednesday and covers everything from GW2 guides and news to opinion pieces and dev diary breakdowns. If there’s a GW2 topic you’d love to see covered, drop a comment Tina’s way or mail her at tina@massivelyop.com.


")

